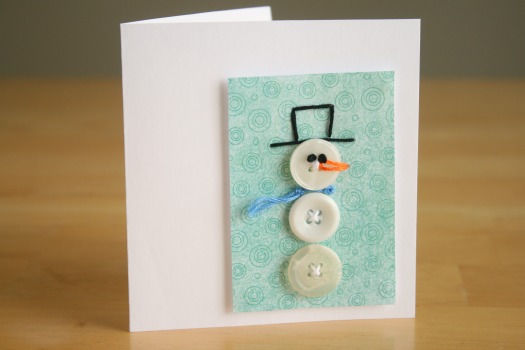
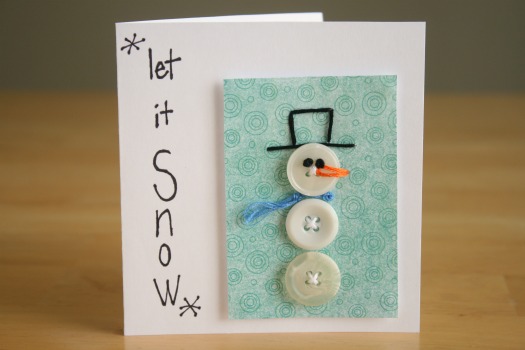
I couldn’t resist stitching up this cute little snowman made of buttons, complete with scarf and orange carrot nose. It’s giving my stitched cards a fun 3D element.
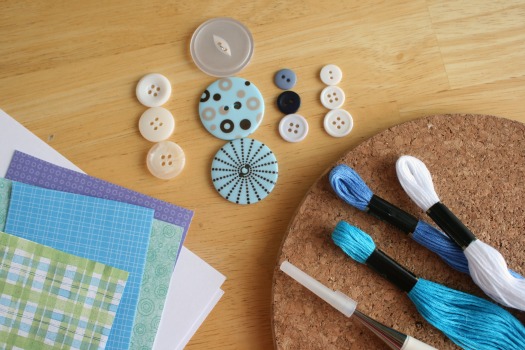
Supplies for Snowman Button Card:
- paper
- cork board for punching holes
- punching awl or thumb tack to punch holes
- embroidery thread
- cross-stitch needle
- buttons
- cardstock paper for folded card
- glue
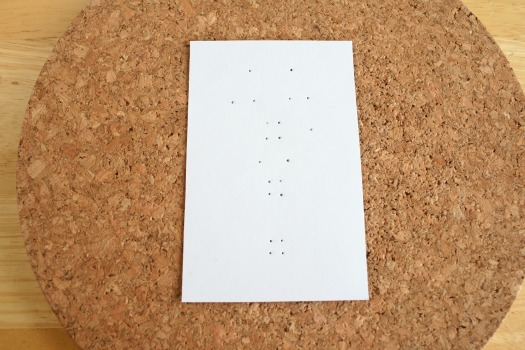
Here’s the pattern to look at as you punch holes for your snowman, for the scarf, hat, and nose.
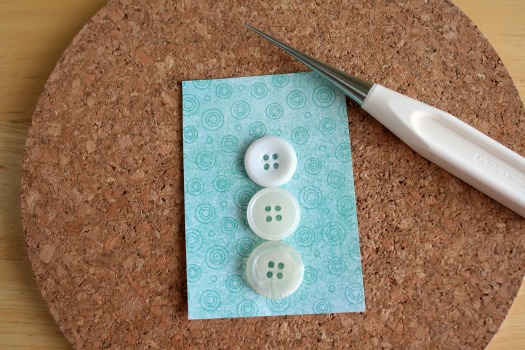
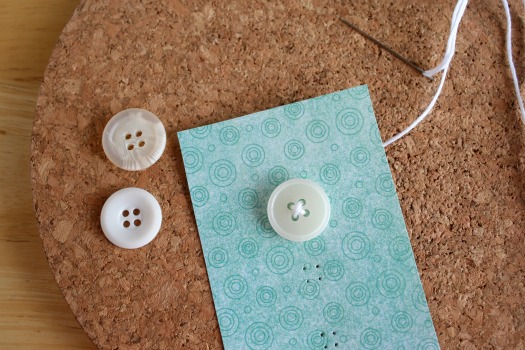
1. Line up your buttons onto a piece of paper, any color paper. It’s best to use paper that is heavier, but if you use thin paper, just stitch carefully to not tear a hole.
2. Using your punching awl or a thumb tack, punch holes through the buttons onto the piece of paper. It might be a little tricky holding the buttons in place, but do your best to keep them in line.
3. Thread your cross-stitch needle with embroidery thread. I like to use all the strands of the thread for a thicker look, but you can pull a few of them off if you’d like. Tie a knot at the opposite end and start to stitch your button through the holes of the paper and the button. Criss-cross the thread on the 4 holed button. Then move on to the next hole, and the 3rd hole. Then tie off the end on the back side with a knot.
4. With orange thread, stitch a triangle for the nose using the far right hole and two of the top button holes.
5. Stitch the hat with black thread, using the 6 holes at the top. Stitch the three sides of the hat, then a long one for the bottom to finish it off.
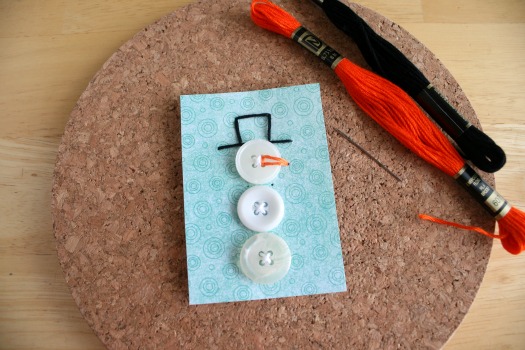
6. There should be two holes in between the first and second button for a scarf. For the scarf, tie a knot on the end of the thread about an inch up from the bottom, to act as the hanging scarf. Stitch it from the top with your needle, so the knot is on the top side. Go back and forth with the two holes a couple of times, then go back out the same hole you started with, tying a knot on the top side again for the scarf to have some thread hanging out, about an inch again.
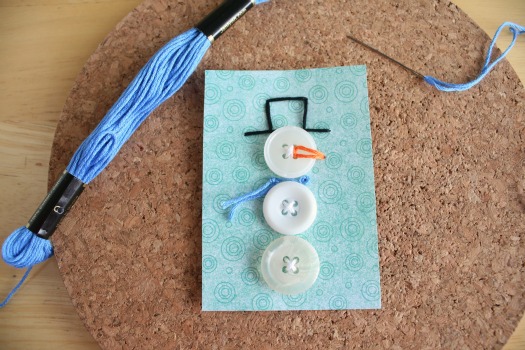
7. For his 2 black eyes, I did a french knot stitch for two holes at the top of the button.
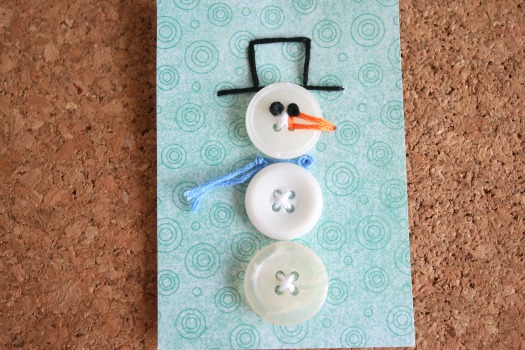
8. Glue your now finished snowman paper onto a larger card. You can spray glue this for best results, or use pop up glue dots as well.
Write something fun on the card and it’s ready to gift someone who needs a lift during these long winter months!


This is such a sweet card! I just wanted to let you know that I’ve included this in our Button Crafts roundup on the FaveCrafts Blog: http://www.favecraftsblog.com/link-love-buttons-buttons-and-more-buttons/
It’s really cute :) Please let me know if you’re ever interested in publishing your tutorials with FaveCrafts!
That is just pure genius. I’m filing this one away for next year’s holiday cards!
Another amazing craft, Marie!
Super cute!