Guest post by Brandy of Home Sweet Home
Redecorating your kitchen doesn’t have to cost a lot of money. Work with what you have! It if doesn’t turn out perfect, you aren’t out any money. If it turns out fabulous—you can do a happy dance and pat yourself on the back for SAVING money!
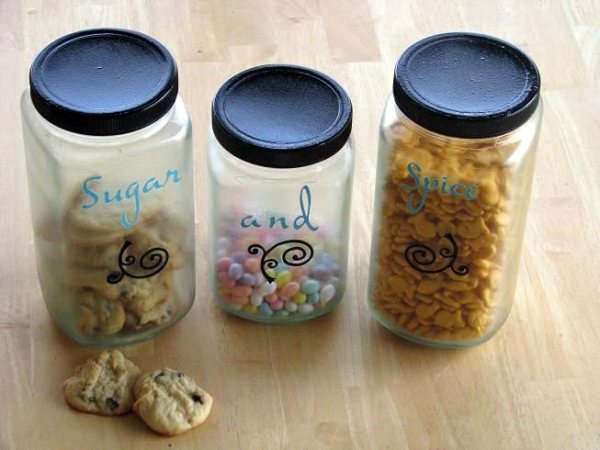
Set #1: Below, I took these 3 jars that I bought a year ago at Dollar General and gave them a quick face lift to match my kitchen decor.
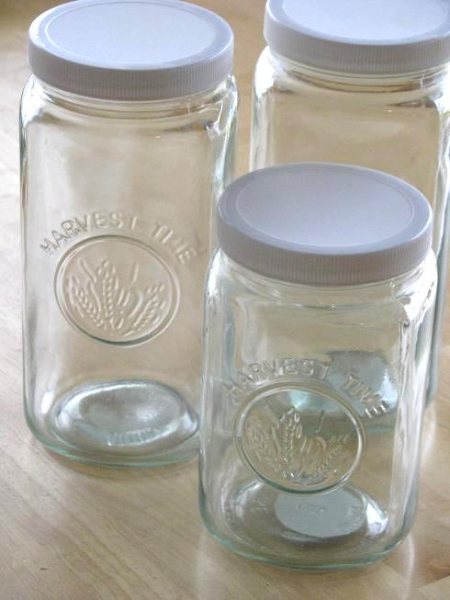
Supplies for painted kitchen canisters:
- mod podge
- spray paint
- cardstock
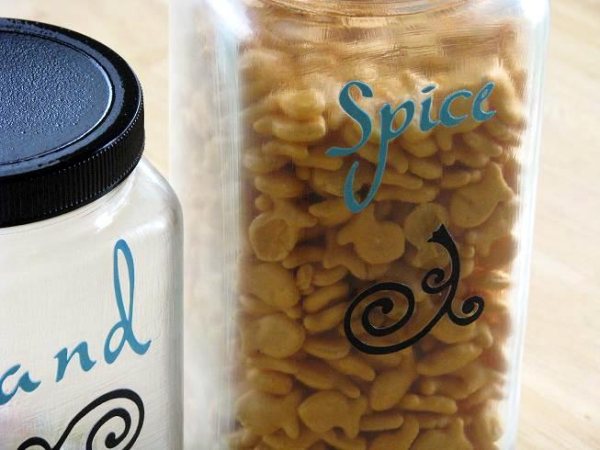
I sprayed the lids black, then cut out the lettering using my Cricut paper machine. I applied a thin coat of mod podge, added my lettering and flourishes, then applied another coat of mod podge. Since mod podge dries clear, but not brush stroke-free, I coated the entire jar in a thin coat; alternating my brush stroke pattern to make it look like it is “supposed” to be frosted.
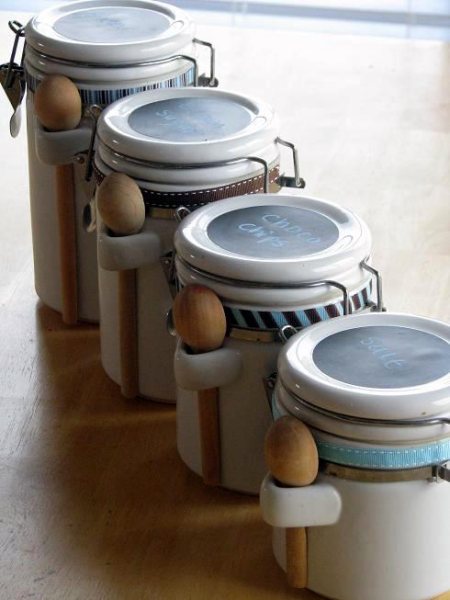
Set #2: My husband had this next set of canister from his bachelor days….10 years ago. They’ve collected dust through the years and so I decided to customize them a bit.
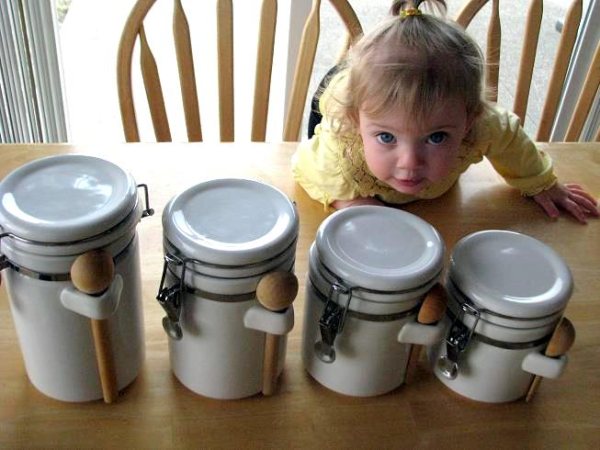
Supplies for chalkboard kitchen canisters:
- chalkboard peel and stick sheets
- ribbon
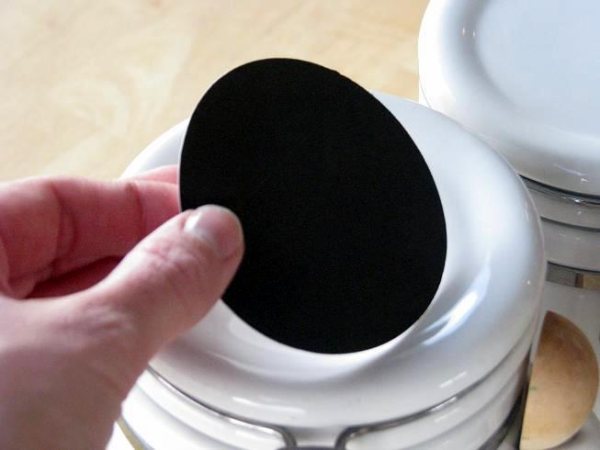
I love these chalkboard peel and stick sheets. They are reposition-able and can be cut with scissors or using a paper machine for desired shapes. I bought a pack 2 years ago and when my kids got tired of drawing on the chalkboard sheets that I had on the wall, I took them down and saved them in my craft closet for future projects. They’ve come in handy.
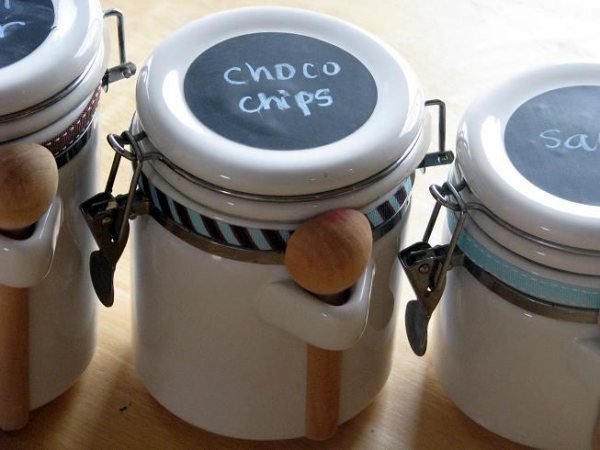
I simply cut out a 3″ circle to fit the tops of the canisters and adhered it. That’s it! A little ribbon embellishment (Target has coordinating spools in their $1 section) and now I have labeled canisters that I can easily change out as the contents of the canisters change!
To see the other no-cost accessories that I made for my kitchen by repurposing scraps and supplies, check out my Kitchen Makeover!
 Brandy blogs over at Home Sweet Home. My husband serves in the United States Coast Guard, and we have lived in California, Alaska, and Ohio. My crafting days with my children really began while living in Kodiak, Alaska. Long winters and lots of rainy days created the perfect atmosphere for creativity in the home. My blog highlights some of the fun creative projects that we have done as well as family recipes and projects for Mommy!


Hey Marie!
I really love those Harvest Time jars !
Could you please tell me where I could find all three sizes?
I really do need them in my kitchen.
PLEASEEEEEEEEE!!! REPLY ! thanks girlie :D
I LOVE this idea! Brilliant! As soon as my studio gets finished, on to the kitchen to do this! :) Want to see how you inspired me to use Mod Podge in my studio in the mean time? Check it out here: http://stresstheseams.blogspot.com/2010/05/may-you-be-inspired-days-map-file.html
Thanks for the inspiration!
I have a couple dozen metal tins I use for loose tea (I do love my tea!), and was trying to think of something fairly simple I could do to all of them to make them look more interesting. I love the idea of the chalkboard sheets! I had no idea they existed! I was thinking about using the chalkboard spray paint, but then I’d have to empty all of the tins. The sheets will be so much easier. Thank you for the idea!
What a neat idea! I love to see how others re-use items to make something useful!! Thanks for sharing!
Love the canisters! Can’t wait to try that out here!!!
Cute, Cute, Cute! This gives me some good ideas to use in my kitchen. Thanks for sharing.
I have the same cannisters… great idea! Very cute & inexpensive way to add some personailty to them!!
Thanks!
Lindsay
A Design Story
I have the same cannisters, only in green! I hide them in my cupboard because that shade of green doesn’t go with my kitchen anymore. Wish I had the white ones…they’d be easier to update! I love the idea of using chalkboard stickers to jazz them up!
love the jar idea…i usually just throw stuff in. isnt vinyl the BESTEST!?
Awesome ideas! I love taking my old and making it new with my Cricut!!
Thanks so much Marie!
Love the chalkboard stickers!