Watercolor is one of my personal favorite artistic methods! It’s so simple to do and make something really creative. This technique of making watercolor brush indent designs are easy to do yourself and make beautiful and personalized gift tags or greeting cards!
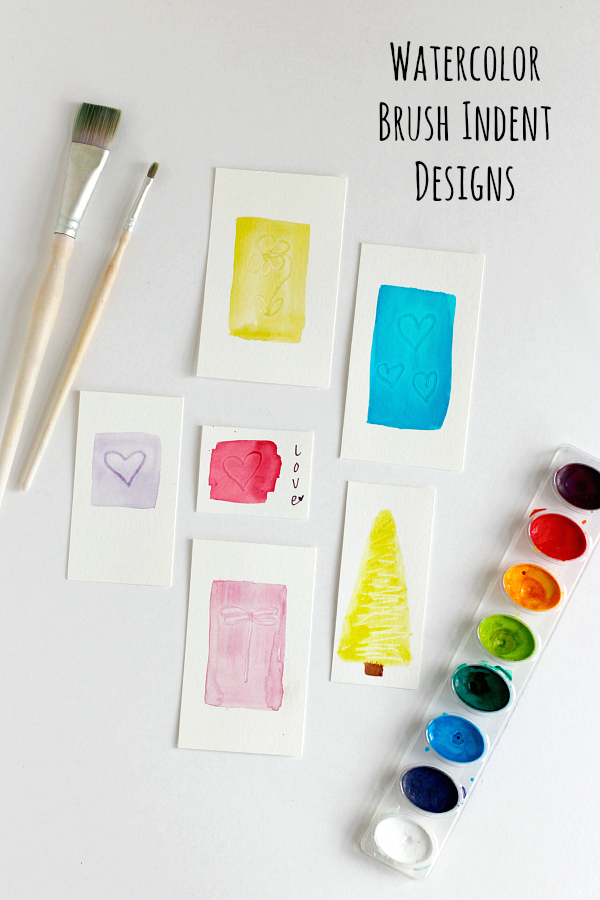
Watercolor Brush Indent Designs
I first learned of watercolor in my teens from my sweet big sister, Sue, an amazingly talented artist! She would come home from art school with loads of paint and experiment. I have memories watercoloring with her and learning this technique of turning your brush upside down for a fun indent design look.
My favorite design I came up with were these dragonflies. I was obsessed with them back in the day!
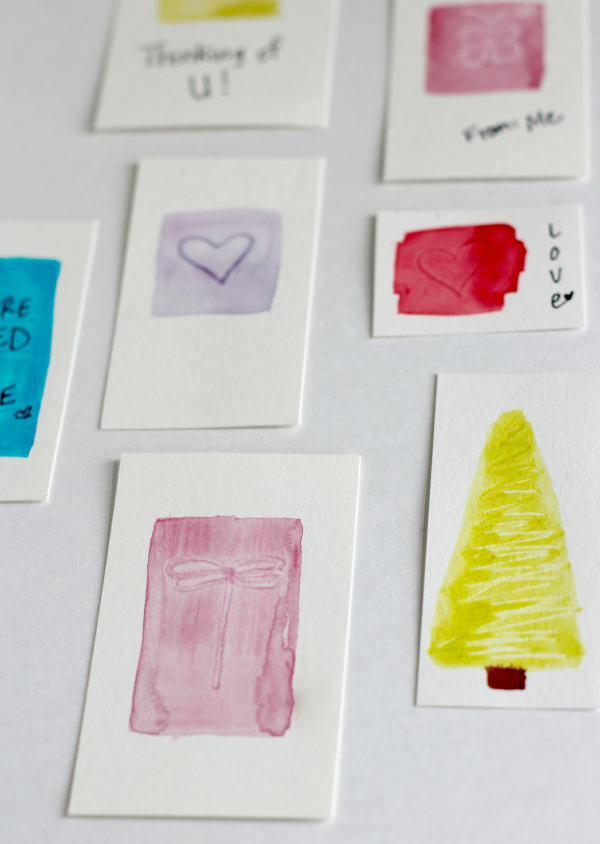
This is such a fun and unique method to watercoloring. Even the kids can make their own designs when you get out the watercolor supplies!
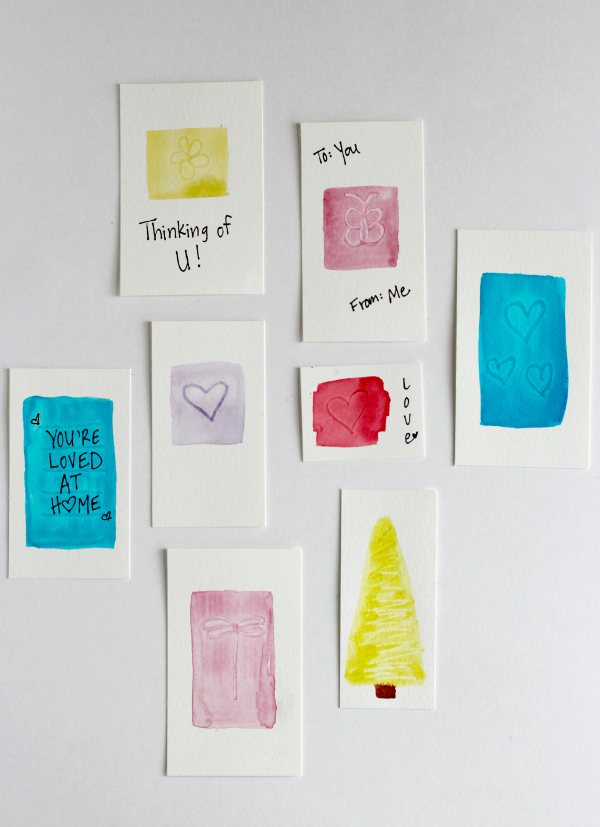
DIY: Watercolor Brush Indent Designs
Supplies:
- watercolor paints
- brushes
- watercolor paper
- cup of water
- paper towel
- newspaper
- black marker
- scissors

Instructions:
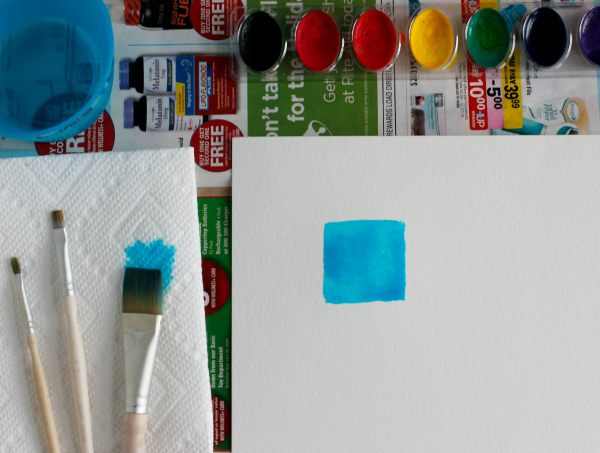
1. Set up your station. Fill your water only halfway, it will be less likely to spill if you’re painting with kids!
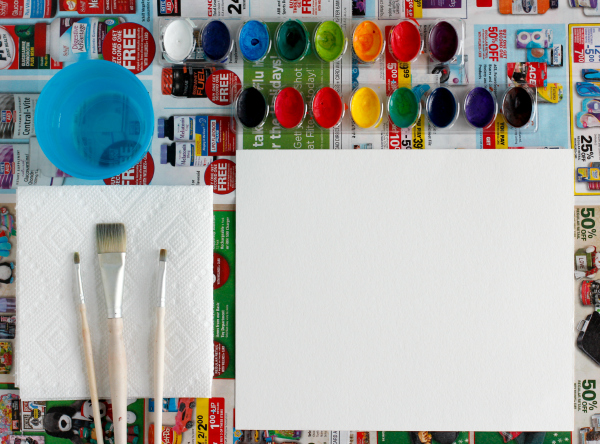
2. With your most flat brush, paint a square or rectangle color block. You could also do this with circles as well – really any large 1-2 inch painted shape. If you don’t have a 1 inch flat brush (which I highly recommend, it’s such a great brush) you can use any brush and outline your shape, filling it in with paint.
3. With the other end of your brush, press and draw a design into the area you just painted. You want it to be wet, don’t let it dry. This way, the paint runs into the indented lines and fills in darker, making it stand out.
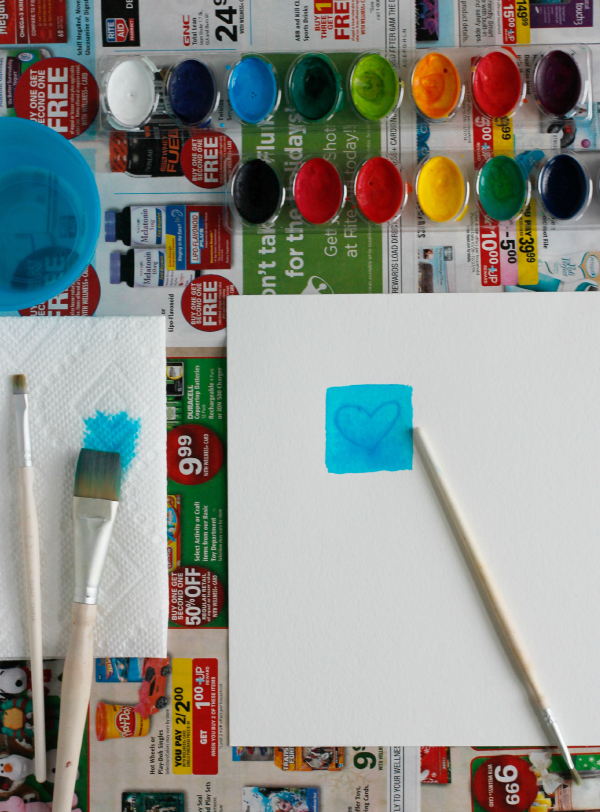
Draw hearts, butterflies, dragonflies, simple lines, or flowers. Anything goes!
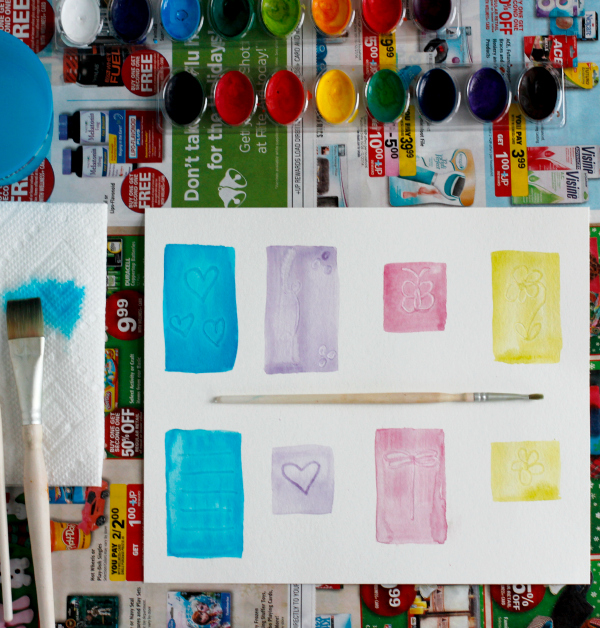
4. Let these dry for a few hours and they are ready to cut, write, and tag your gift!
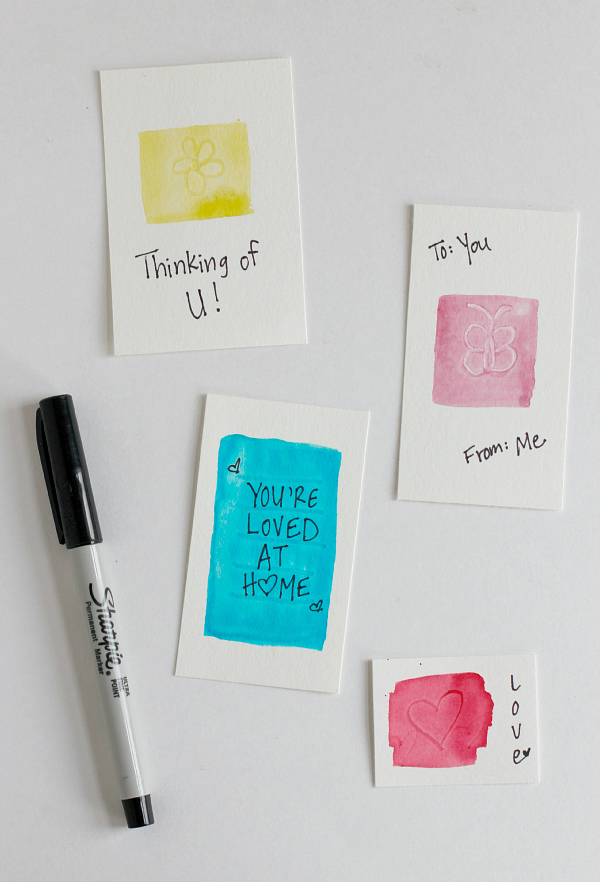
You can make these as gift cards or tags for loved ones.
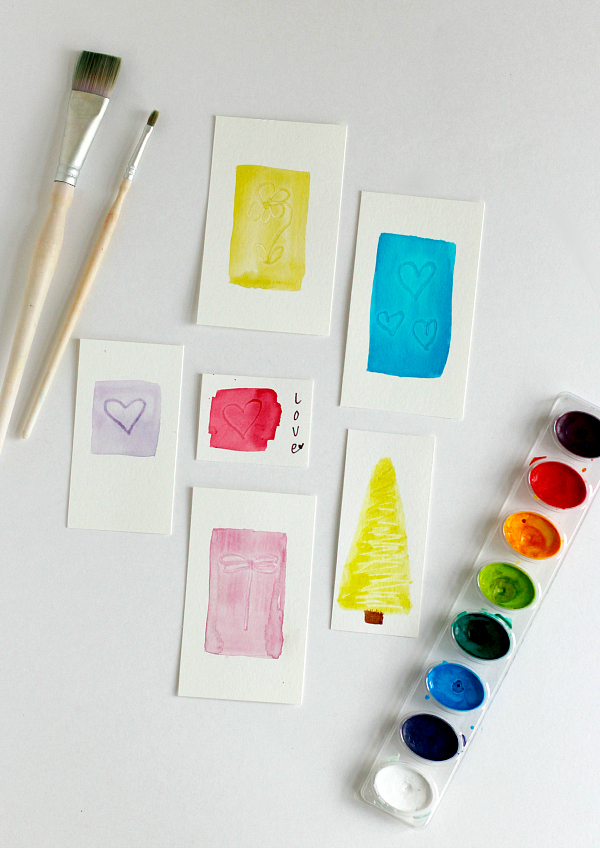
So many different creations you can make with these cool watercolor indented designs! Happy painting!
*Originally posted 1/13/15


