This technique for painting swirly flowers will have you making these along with your kids. Not only are they simple for young painters, they are crafty and fun for adults as well. You’ll have the perfect art project for Mother’s Day cards or end-of-the-year teacher gifts. 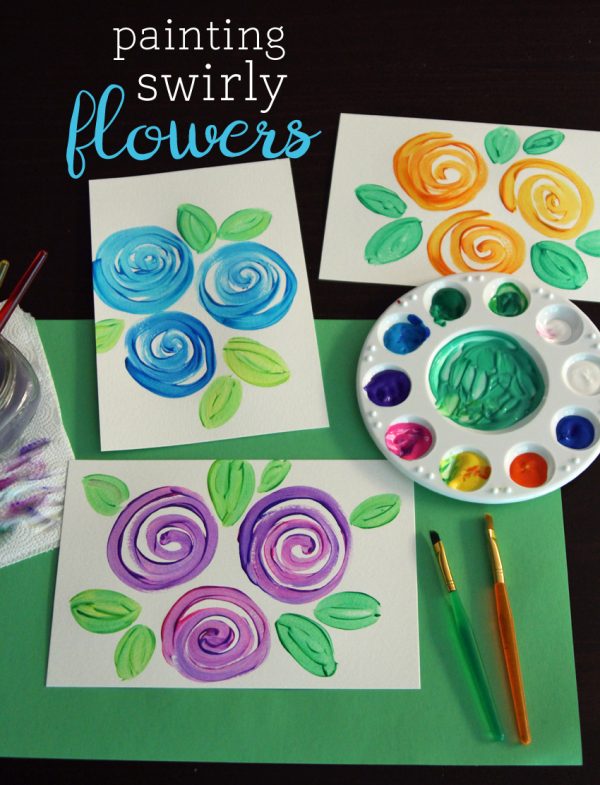
Painting Swirly Flowers
I love to experiment with paints and painting, right alongside my daughters, but I am definitely an amateur. Painting swirly flowers are as simple as can be, but with frame-worthy results. We can’t stop making them! I think you and your kids will have fun combining colors and creating your own uniquely beautiful swirly flowers.
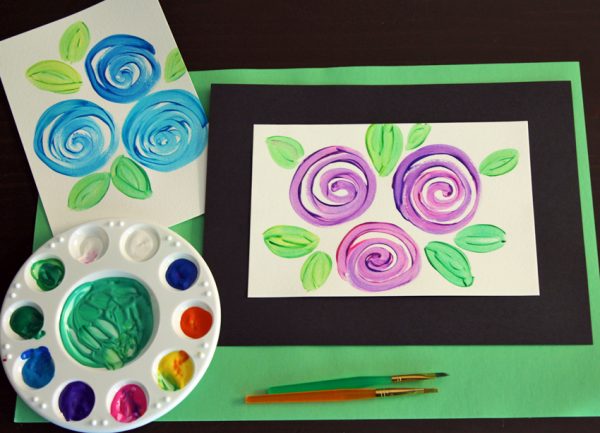
I think these swirly flower paintings look especially nice mounted on black paper. They would make gorgeous bookmarks, too!
Painting Swirly Flowers Simple Technique
Supplies:
- assorted colors of tempera paint
- medium-sized flat brushes
- heavy paper (such as watercolor paper)
Instructions:
Decide what size painting you want to make and cut your paper. We worked on half-sheets of watercolor paper (6×9 inches).
These flowers are so simple, but I love how they turn out. Choose two coordinating colors for your flowers, then dip your brush in both colors. We call loading your brush like this “double-dipping.” Instead of mixing the colors on the palette, they mix and swirl right on the paper for a beautiful effect.
Now, paint a simple swirl shape to create a flower. I prefer to start on the outside of the flower and swirl towards the center.
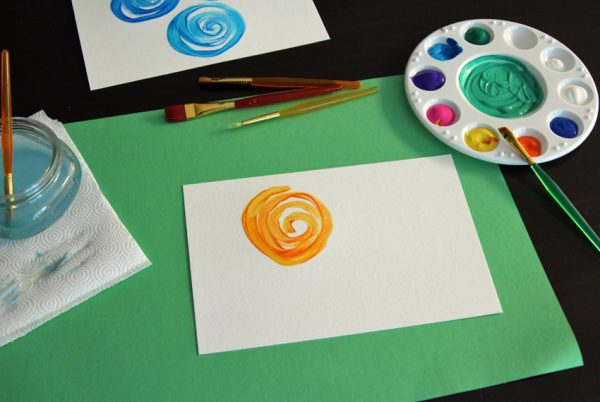
You may find that you start to run out of paint as you get to the center of the swirl. No problem! Just dip your brush in both colors again, and go right over the first swirl. Here you can see one flower that has been painted twice, and a flower that was only painted once.
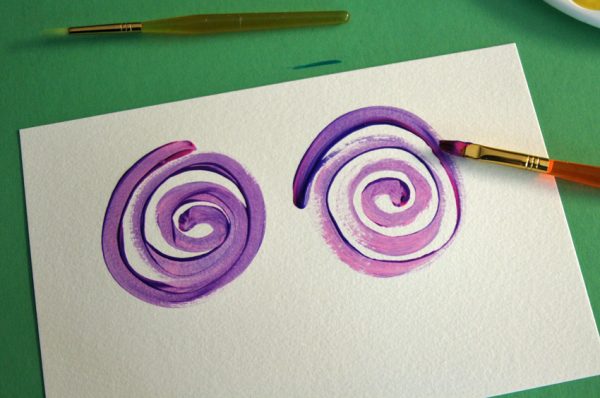
You can leave the starting “tail” of the swirl as is, or close the shape by connecting it with a little more paint. I love how the two colors blend together. And, as you can see, the swirls don’t need to be perfect. The imperfection is what gives these flowers their charm!
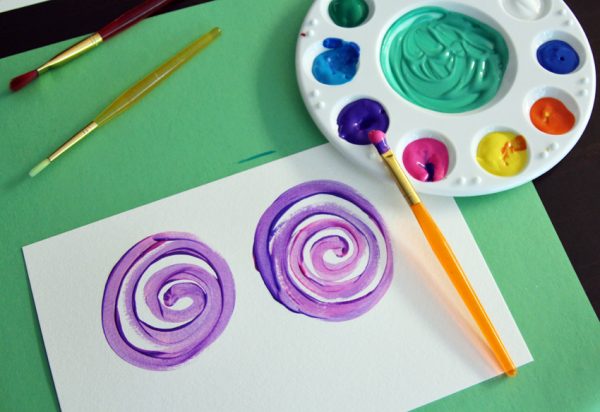
Once you have painted all your flowers, it’s time to add some simple leaves. These leaves are basically three brush strokes – two curved lines to outline the leaf, and one brush stroke to fill it in. Again, I dipped my brush in two colors, such as yellow and light green, for painting the leaves. Also, don’t worry about smoothing out any brushstrokes – they add great detail to the leaves.
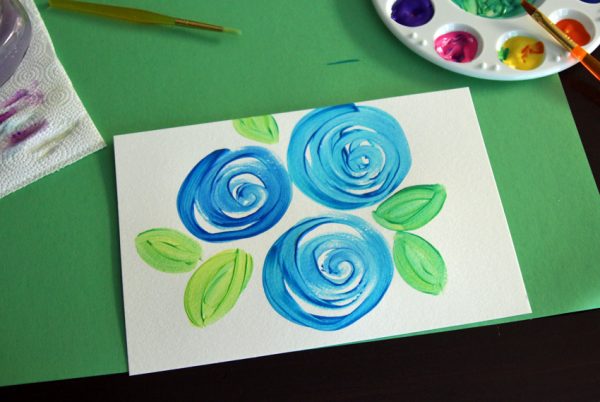
So, now it’s time to display and enjoy!
Pin this post for later:
Originally posted 4/11/16


Love your flowers!!!
will acrylic paint work?
So cool. I bought some white clay pots and wonder if this would work on them?
I absolutely loved this technique, will certainly be trying this out. Thank you.
Lovely beautifully explained
Excelen técnicas.