I’ve been working on spookifying my house for Halloween, and my favorite look has to be the vintage Halloween style. It’s somehow creepier if it’s old, right? Here’s how you can take ordinary household items and create vintage Halloween potion bottle for creepy ingredients like eye of newt and arsenic. And with a simple coat of spray paint, no one has to know the bottles are actually empty!
Aged Halloween Potion Bottle Labels
Supplies:
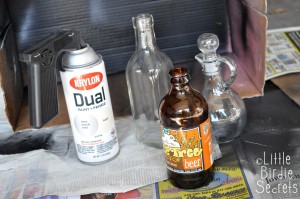
- Glass bottles (try empty food bottles from the recycling bin, or pick something up at the thrift store for next to nothing!)
- Spray paint (optional)–I used Krylon’s Dual Paint + Primer in Ivory
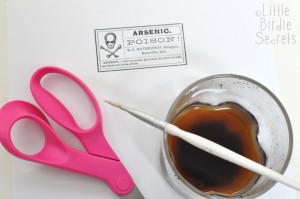
- Digital Halloween labels, printed on card stock (find these all over the Internet, like here or here)
- Scissors
- Instant coffee crystals or tea bags (coffee makes for a darker dye, and black teas work much better than herbal teas)
- Artist paint brush
- Adhesive (I used a strong double-sided tape)
Instructions:
1. Remove labels and wash and dry your bottles. Spray them with a coat or two of spray paint (so you don’t have to actually put anything in them!) or leave them clear.
2. Print vintage Halloween labels on card stock. There are many free images out there–try The Graphics Fairy or just search “Halloween labels” on Google images and you’ll find a ton to choose from! Some are already distressed for a vintage look. Print these for a quick and easy label. If you prefer a more realistic aged paper with some texture, continue on to the dying process.
3. To dye your labels, add a few teaspoons of instant coffee crystals or a tea bag to a small glass of hot water and allow to steep until the color is dark.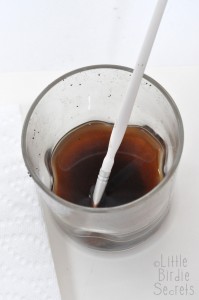
4. Cut our your vintage label image and crinkle it up in your hands. Unfold it and flatten it out. 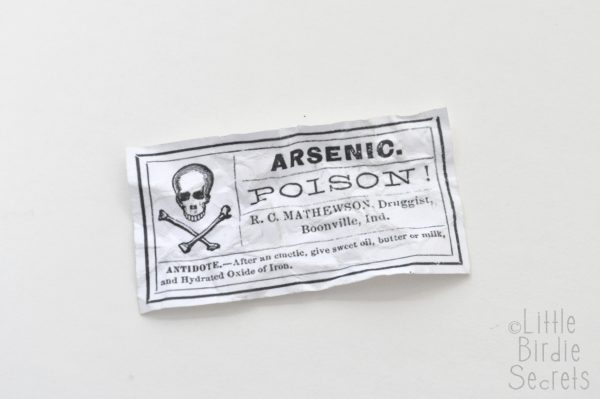
5. Place your label on a folded paper towel to absorb any extra coffee or tea. Lightly dab your label with coffee or tea using your paint brush. Be careful not to drag the brush across the image–it may cause the ink to run or bleed. Some bleeding will probably occur, but not brushing it will provide a cleaner image. Continue dabbing label with dye until covered. Add more until it is your desired shade.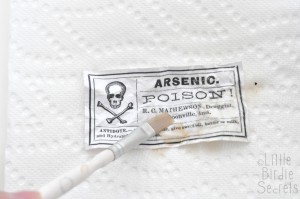
Blot with a paper towel and allow to dry. Repeat for each label.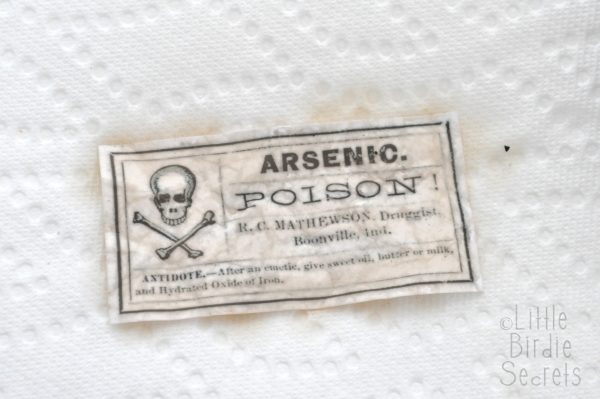
6. Once your labels are dry, attach them to your painted bottles with a strong adhesive. I suggest a strong double-sided tape like Scor-Tape. 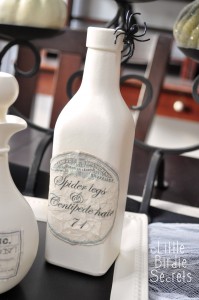
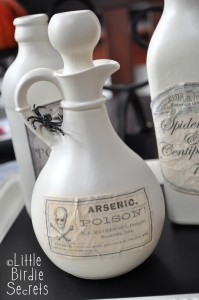
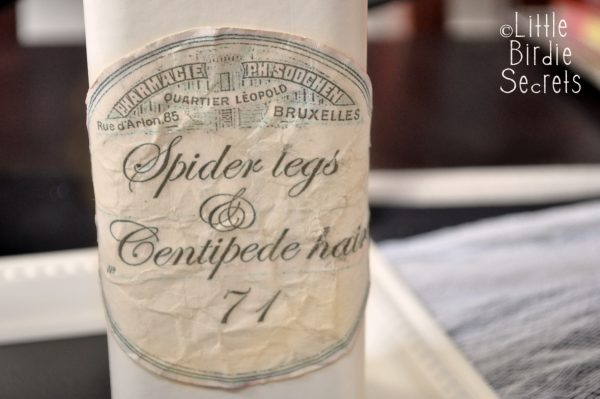
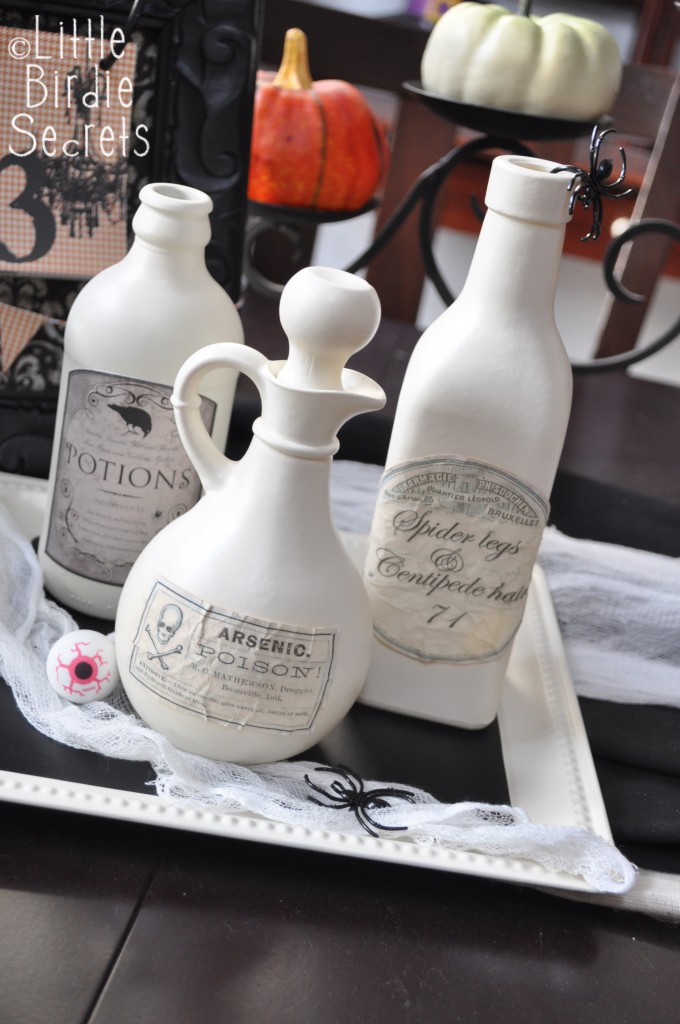
You might notice the “Potions” label in the picture does not look like the others. This is an example of a label that was already distressed–just print and cut! I found this one in the Silhouette store and cut it with my Silhouette machine. 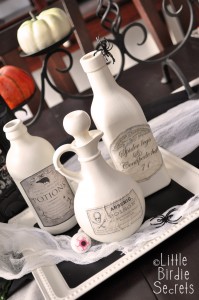
Display bottles on a tray or as part of a larger display. They’re sure to add to the creepiness factor this Halloween!


Love your idea and will definitely be doing this next year. I also pinned you on my Pinterest wall so that I would remember it. So cool!
These are awesome! And so easy. Great idea for Halloween :)
Love this idea! So fun for Halloween!
These look so fun, and pretty easy to make! What a fun Halloween idea.