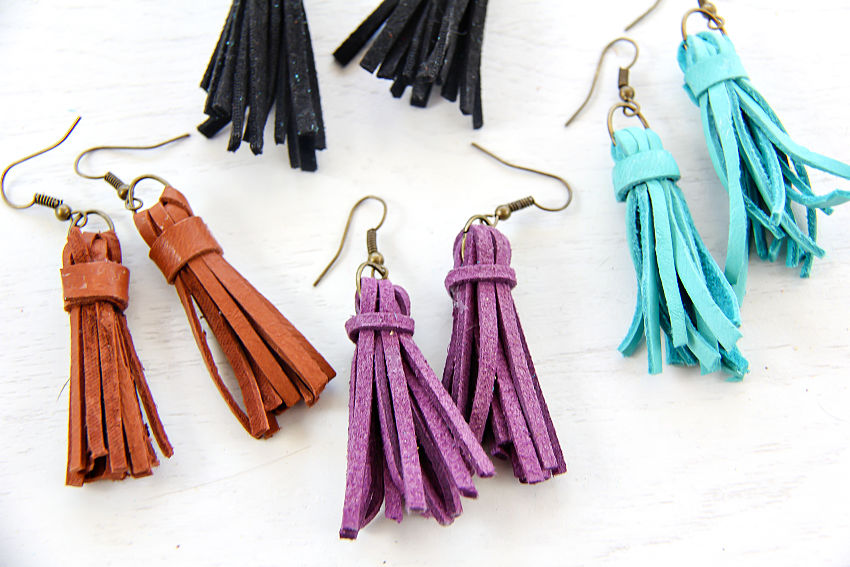
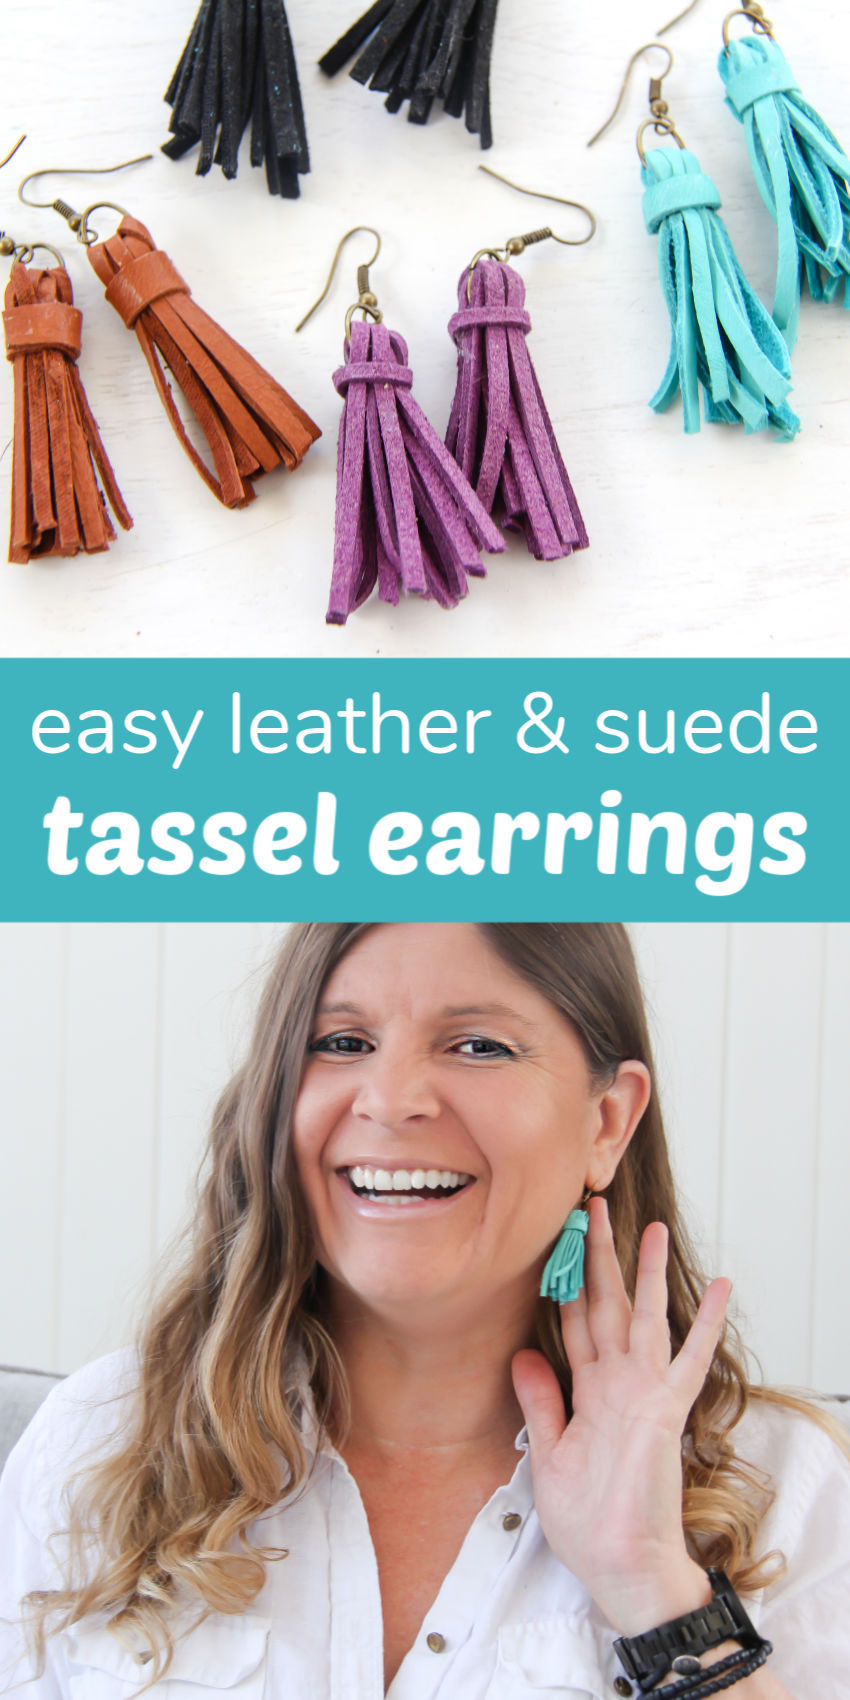
Handmade jewelry is a great way to dress up any outfit, and makes for a wonderful handmade gift too, especially as we near the holiday season. Today we are going to show you how to make DIY leather tassel earrings, but as you’ll be able to see you can make them in other materials as well. They’ll pair beautifully with the handmade multi-strand bracelets we showed you recently too.

I’ve become obsessed with tassels recently, especially in fall colors, and after looking at a leather tassel on my wallet thought they would look fabulous as earrings. They go with so many things and make any outfit look fun.
How To Make Leather Tassel Earrings
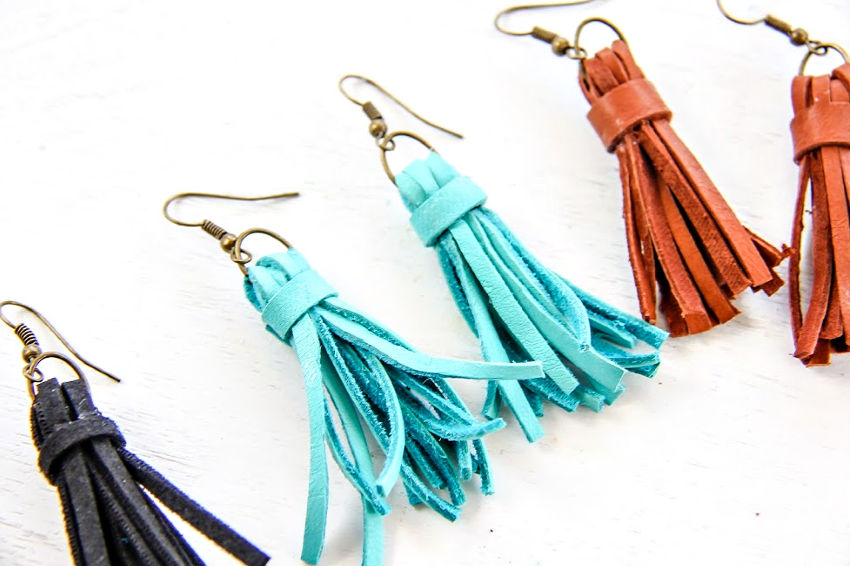
As you’ll see below though you can make these in other materials too. This is perfect if you have scraps lying about as I did from other projects (I rarely throw anything away apparently). I made four in different colors and used leather, faux leather, and suede. I prefer the leather ones (in brown), but the faux leather and suede do make for fun colors.
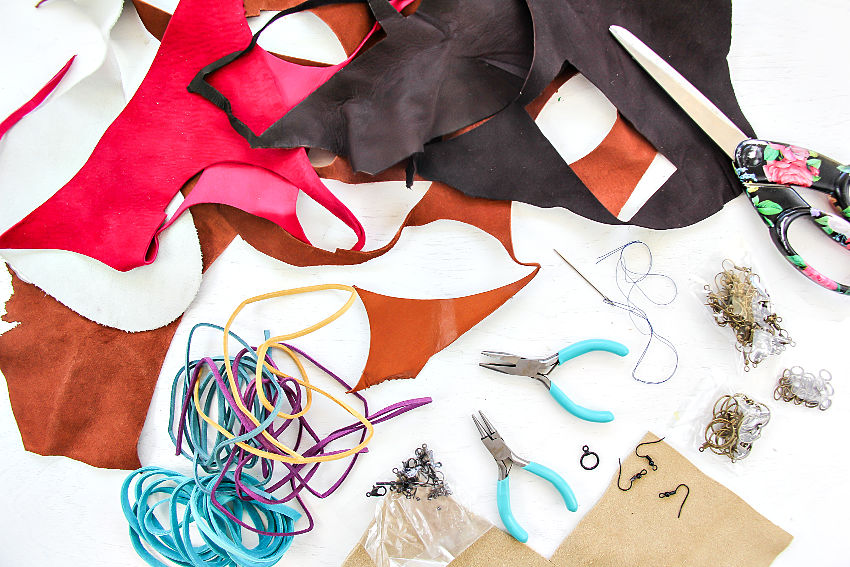
Supplies:
- Scraps of leather, suede, or faux varieties
- Earrings
- Jump rings
- Scissors
- Pliers
- Fabric glue (that bonds leather), or alternatively a needle and thread
Instructions:
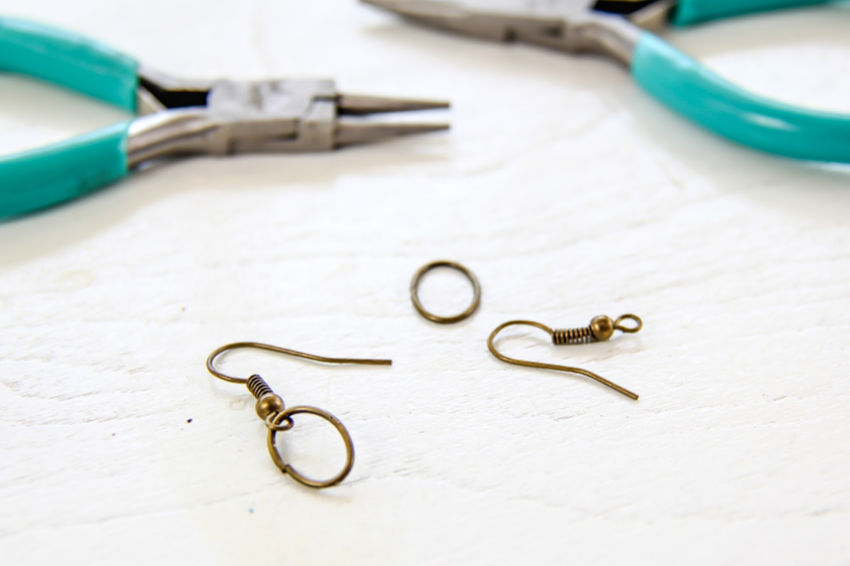
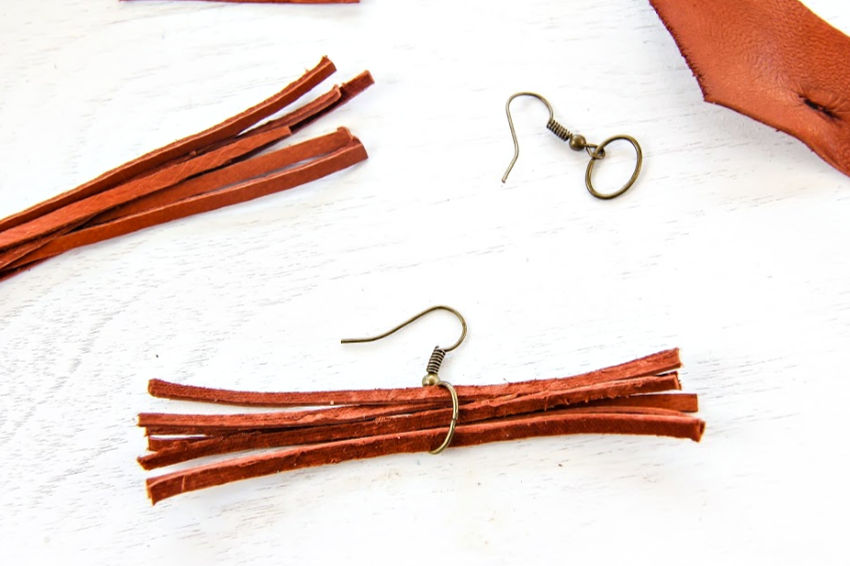
The first step is to attach the jump rings to the earrings. Use your pliers to ease the jump ring open, hook it on, and then close it up again.
Note, I didn’t join it completely in the photograph below so you could see where to open and close it, but once closed, use the pliers to make sure it’s completely closed so it doesn’t get snagged on clothing or hair.
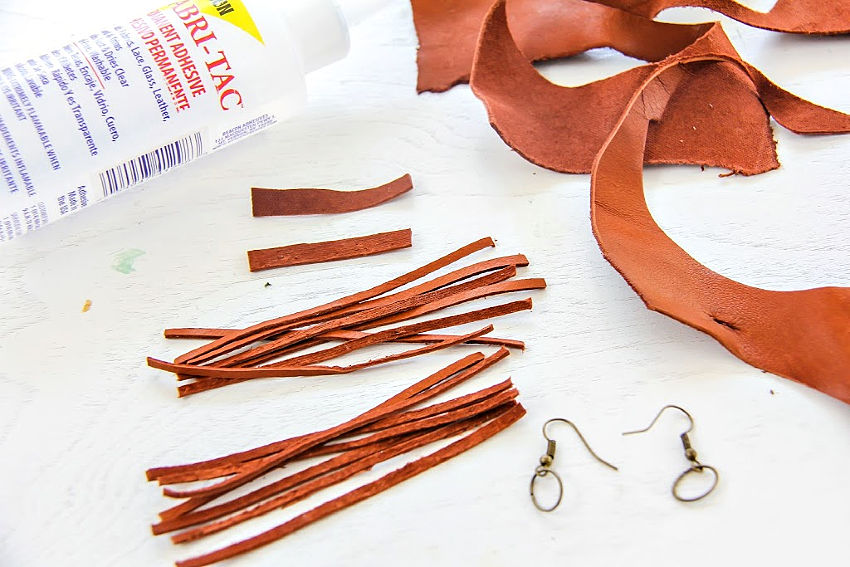
Decide how long you want your tassels. They can be as long or as short as you like. I don’t like very heavy earrings so made mine a little shorter, but you can also play around with how many strands you use too. You could make longer ones with just three or four strands, instead of the seven, I used here for the shorter ones.
Cut your leather or suede accordingly, remembering that you’ll be putting it through the jump ring and folding it, so you may need to cut longer pieces than you think you’ll need. Test a few different ones first.
You will also need to cut a small strap to wrap around the top of the tassel.
Put the strands through the jump ring and fold them over making sure they are all even. Wrap the small band around the top and either glue or stitch into place. If using glue make sure it’s a permanent fabric glue that will glue leather, and if stitching, try to match your cotton to the leather or suede.
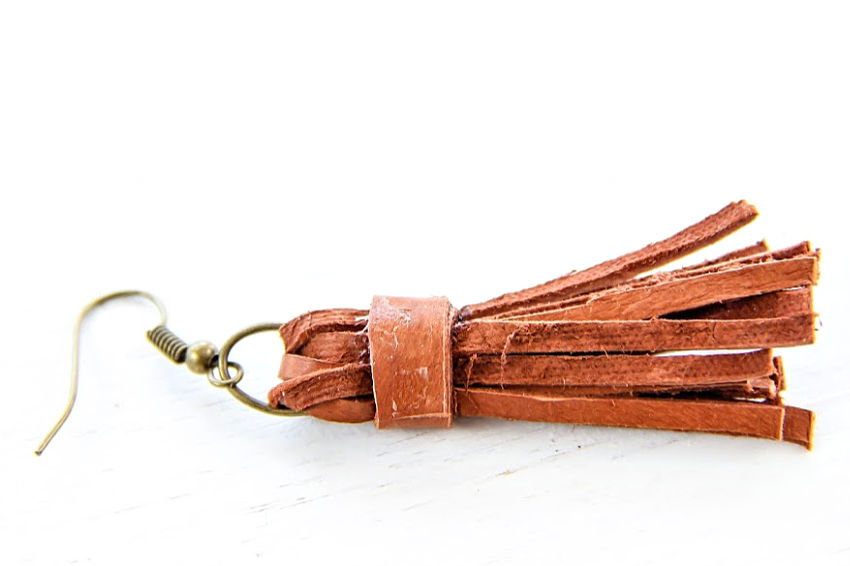
The above photo is the back of the earrings where I glued the band and as you can see it got a little messy, but you will be able to peel that excess glue off the back.
Tip: If you choose to stitch the band on instead of using glue it might help to wrap a small rubber hairband around the tassels first to hold them closed while you sew. You only have so many hands and I did try this but found it a little difficult to keep the tassels bundled up firmly while stitching without the rubber band on them.
And you’ll end up with some fabulous earrings to wear with all of your fall outfits.
Please Pin Post For Later:


Ohhh I am going to try this but instead of using a piece of leather to glue around the folded over leather, I am going to try using a jump ring. Wish me luck! These are gorgeous,
These are quite gorgeous. I stopped making my own earrings in 2013. I bet I’ll just go back to them with these tips
Those came out so cute. At first I was thinking this would be a perfect party craft for my teen daughter’s birthday. Then I was thinking these diy leather tassel earrings would also be great for my sister to make and sell. They are totally on trend right now!