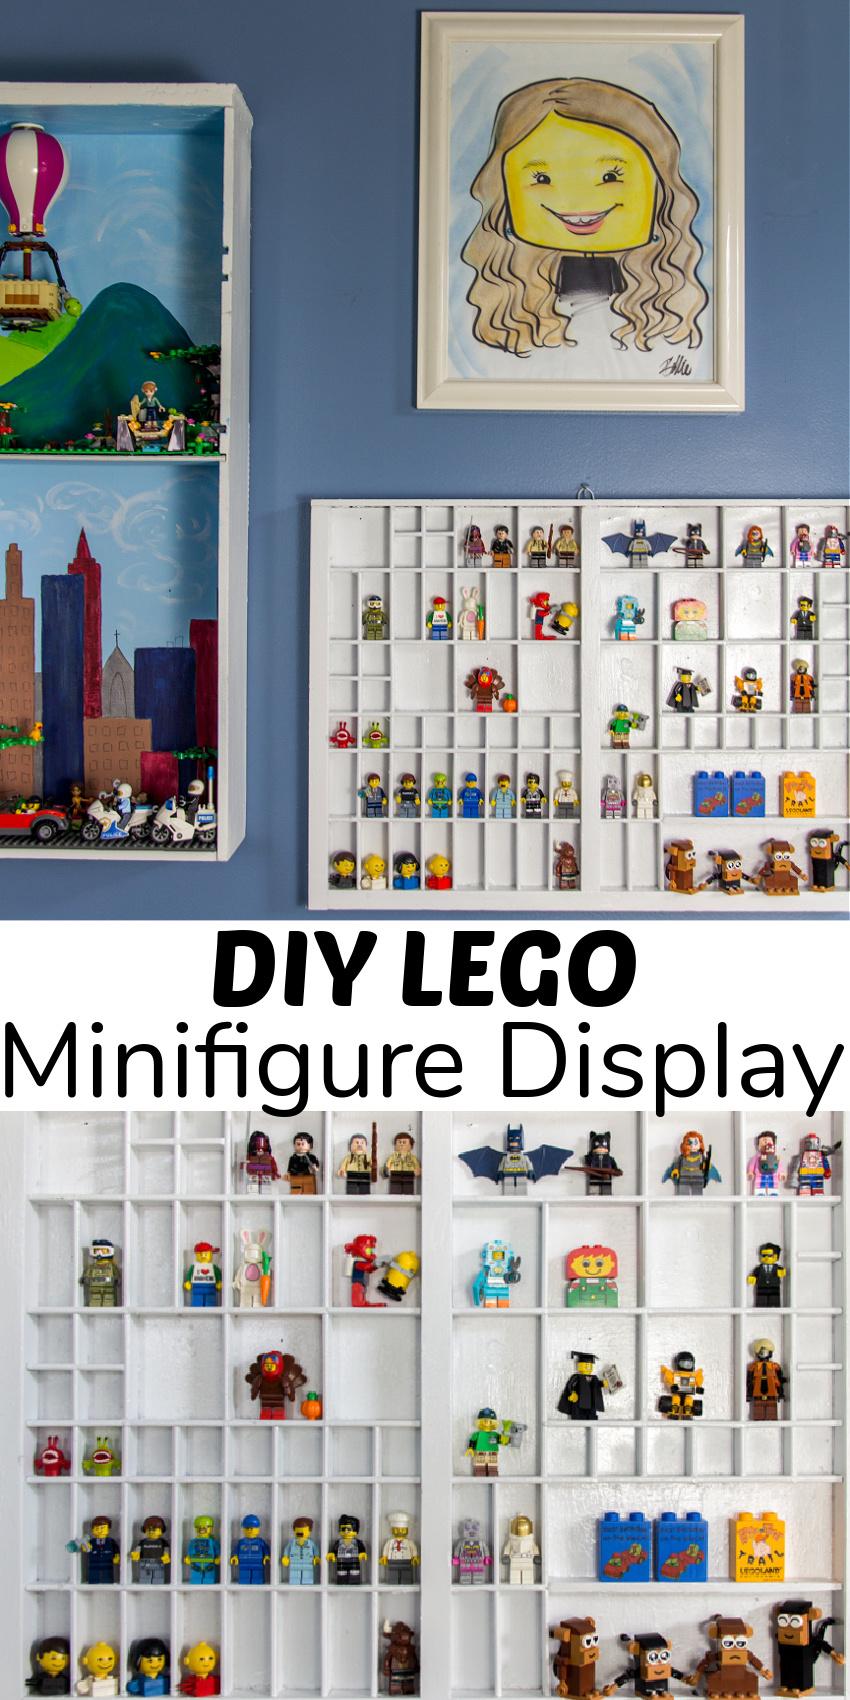
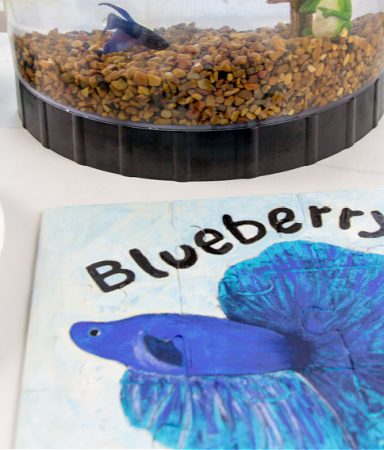
If you love DIY LEGO projects as much as we do, then let us know if you’ve already made our LEGO terrariums and LEGO wall display using a thrifted drawer. Below, we are showing you how to display your tiny LEGO collectibles, including minifigures, in a DIY LEGO minifigure display case.
DIY LEGO minifigure display
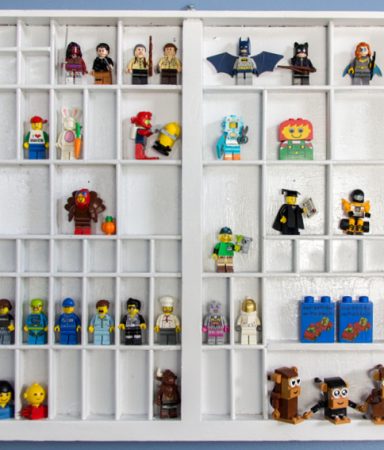
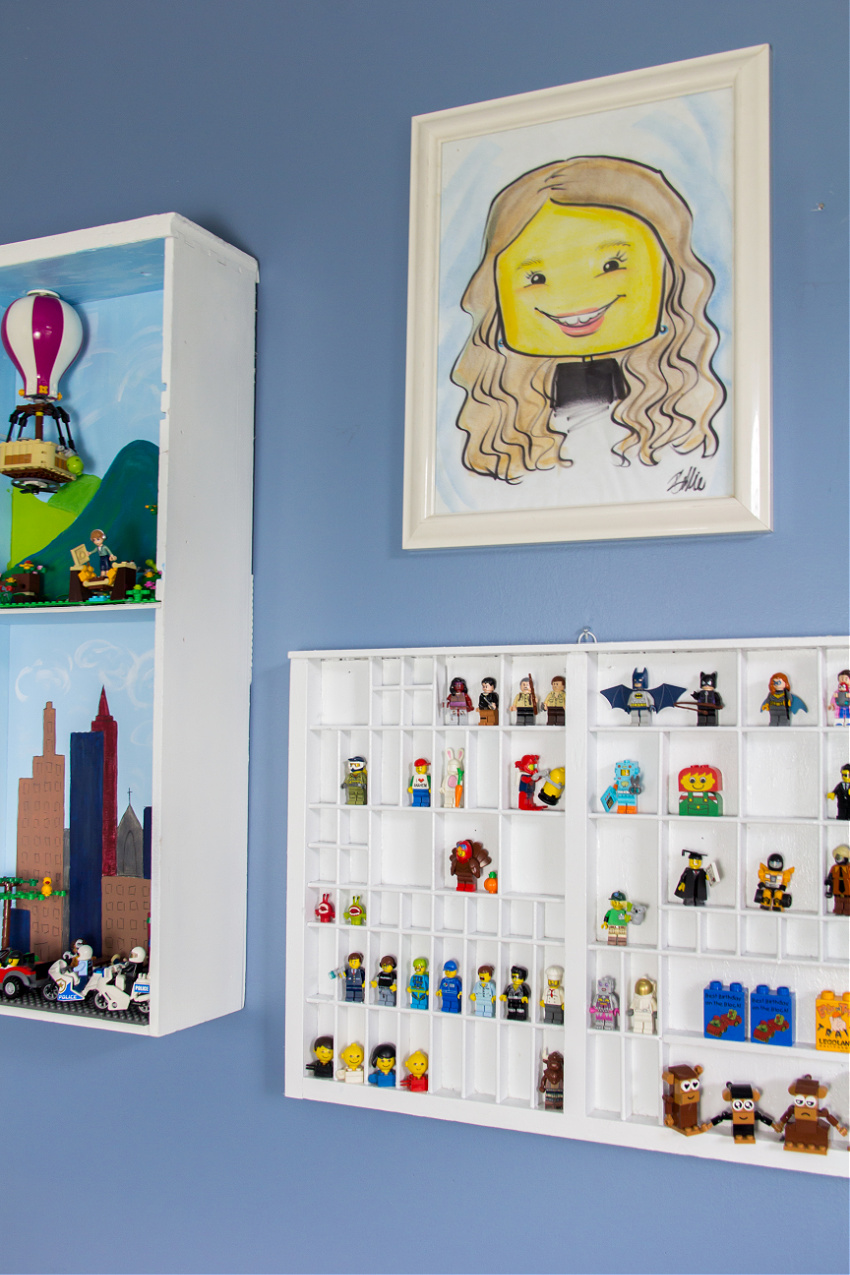
This DIY LEGO minifigure display using a vintage printer’s typeset tray not only re-purposes something old, but it will look great on your wall.
What you need
- Printers typeset tray
- Optional: spray paint, small pieces of wood for extra shelving
- Picture hanging kit
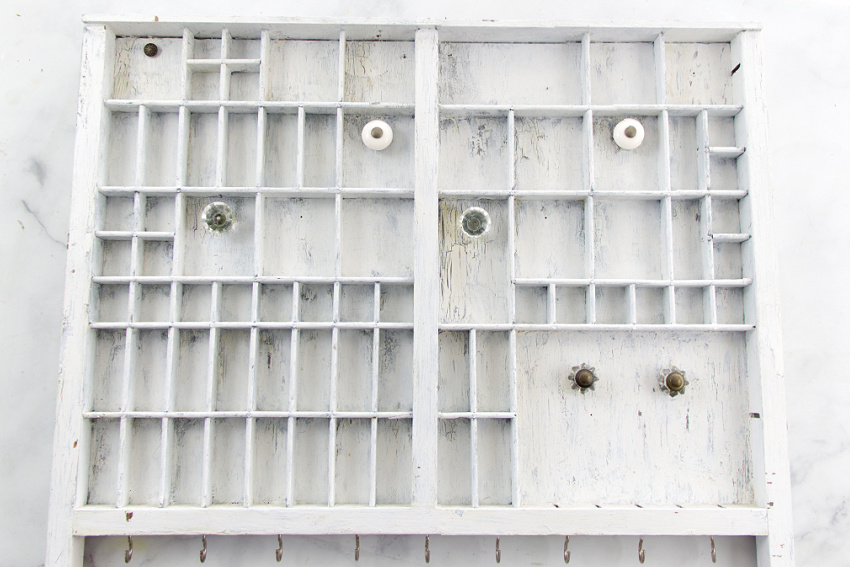
I realize the image above doesn’t look like a typical wood printer’s typeset tray. That’s because, many years ago, my daughter wanted me to make a DIY jewelry holder just like mine. As she grew up, she decided she wanted to redecorate, so I transformed this piece.
You can find wood printer’s typeset trays at thrift and antique stores. You can leave yours the original wood or paint it.
Instructions
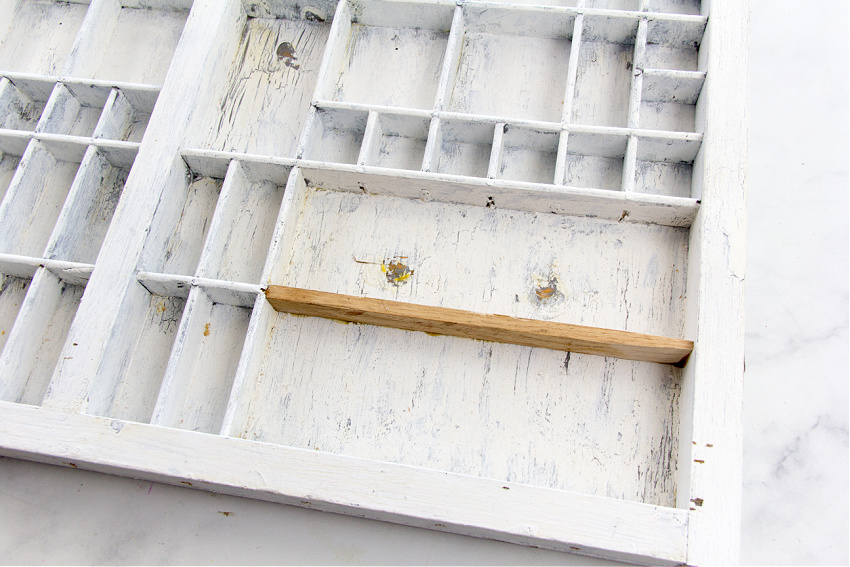
Due to the fact that I had previously used this typeset tray, we needed to make a few tweaks to it for this project. The first thing we did was remove the knobs and hooks, then we decided to saw off the legs hanging down on each side. We added an extra piece of wood to the large compartment, too. Once sanded slightly, we sprayed on two coats of white paint to get rid of the shabby chic look.
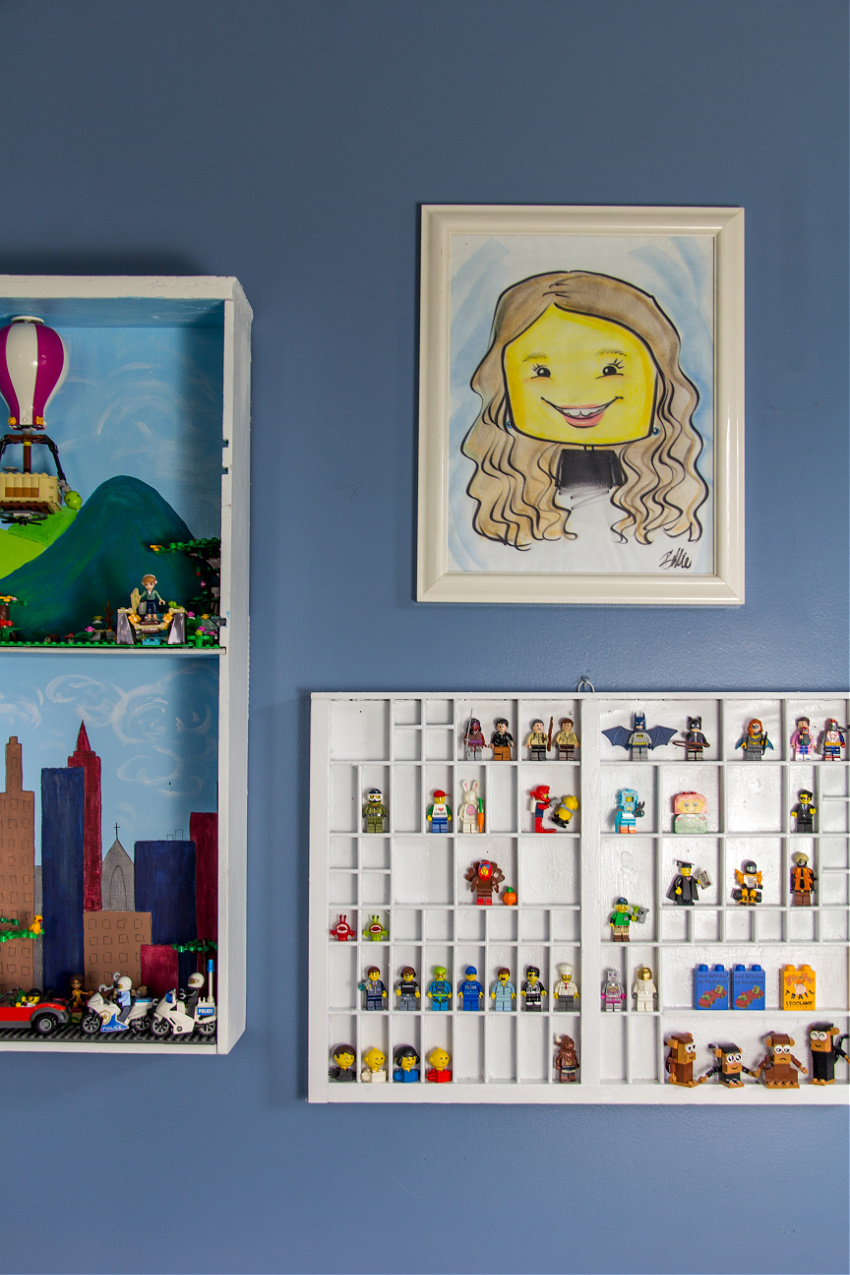
Once you have added a hook to the top and hung it on the wall, you are ready to fill it with your memories, minifigures, and more!
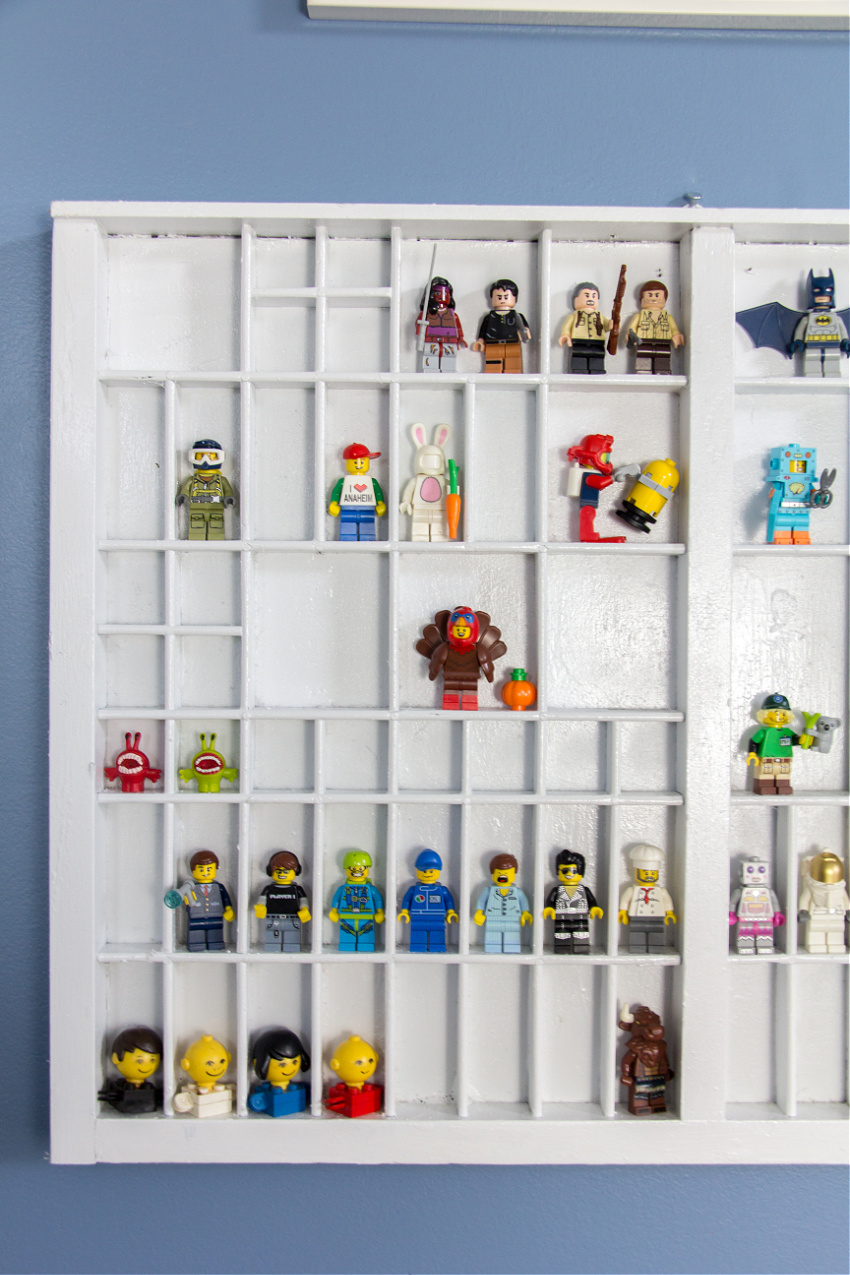
As you can see, we don’t just have minifigures displayed. We also have LEGO heads from sets we had as children, some from trips we’ve taken, visits to LEGOLAND in California, and sentimental ones, such as a koala from where I’m from in Australia, a graduate LEGO that I gave my son when he graduated, and LEGO bricks from the twins’ birthday party.
Please pin this post for later