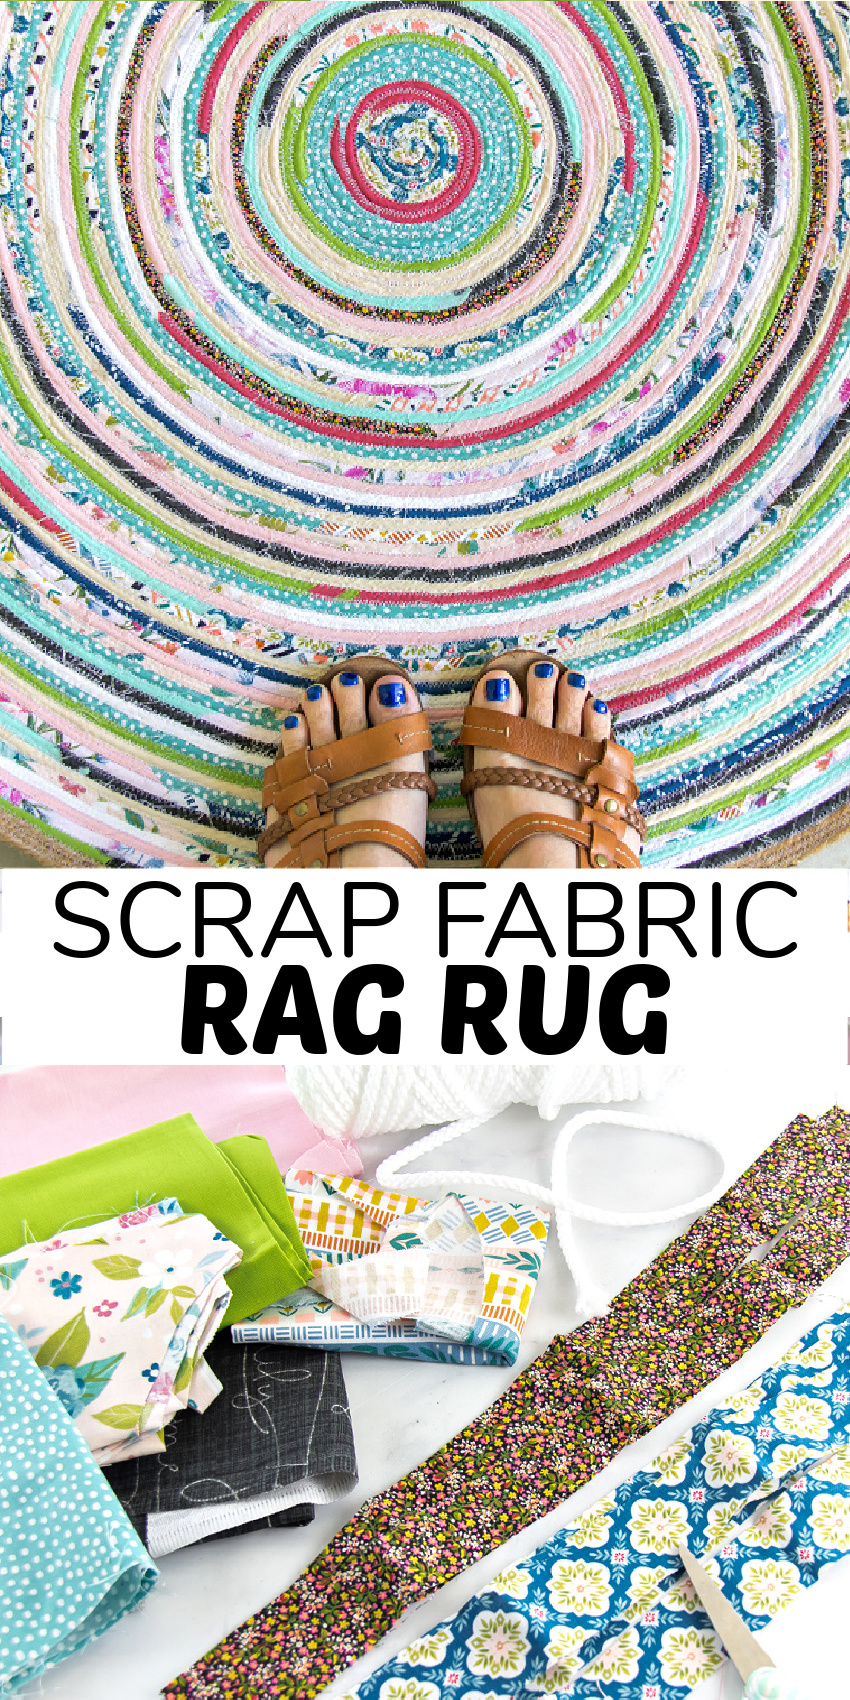
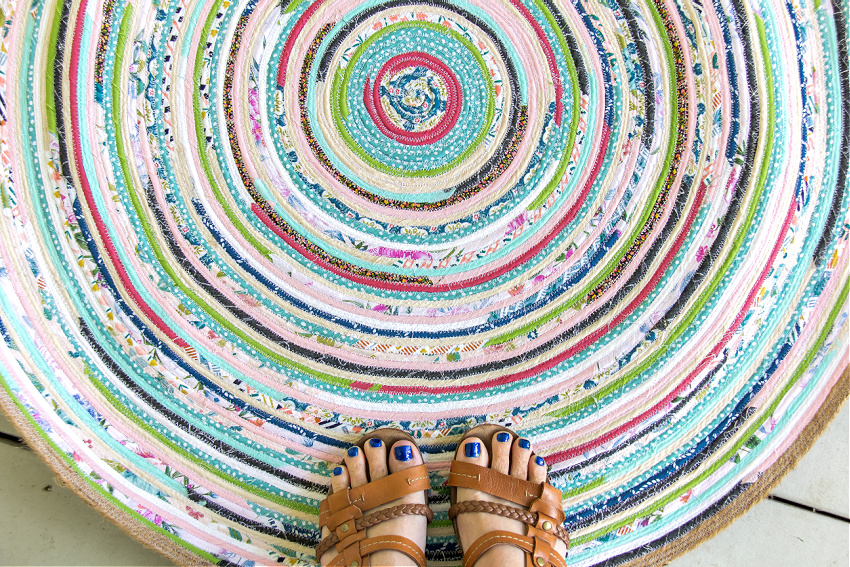
Do you have a stash of fabric scraps from past sewing projects and you are wondering what to do with them? I’ve used scraps from our DIY letter pillow, DIY harvest apron, and our DIY zipper phone purse to make this DIY rag rug.
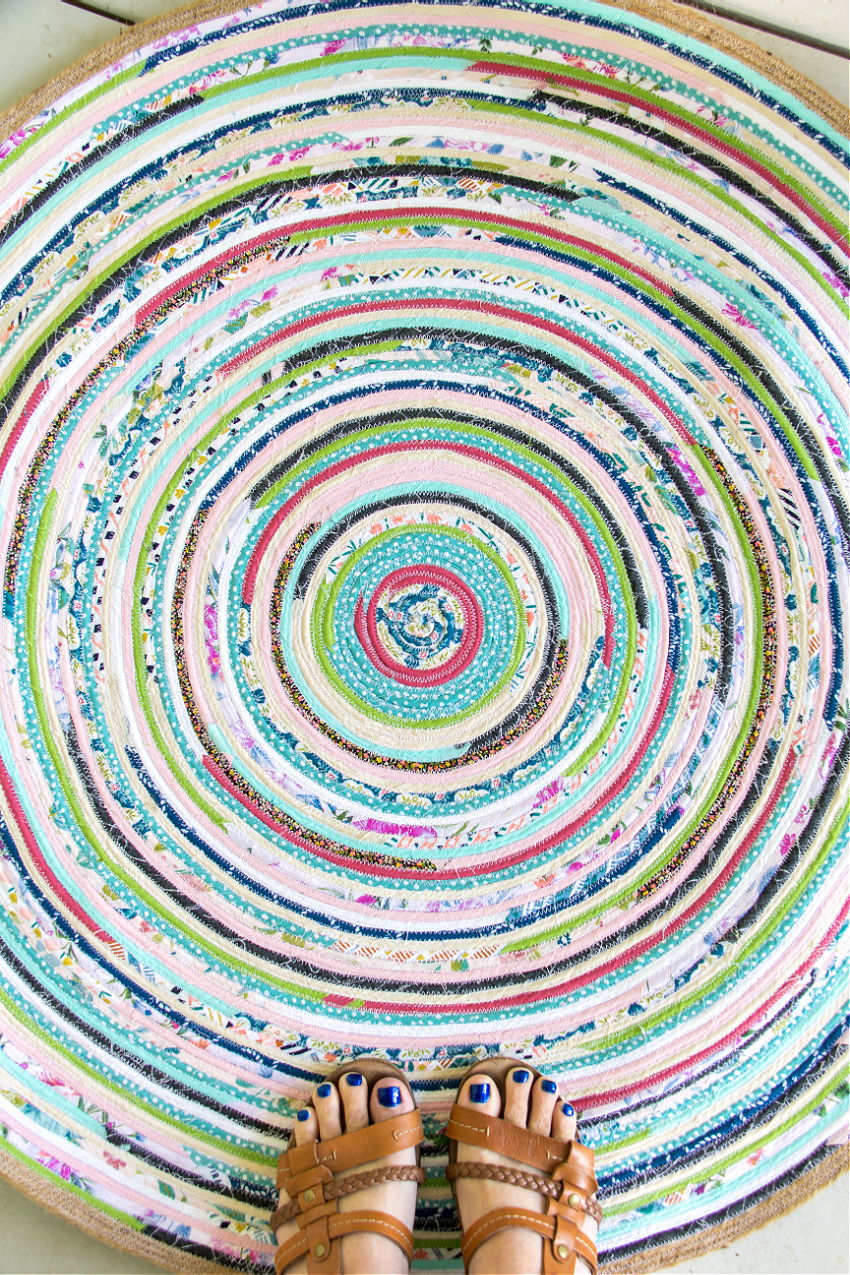
DIY rag rug
A rag rug is a perfect way to use fabric scraps. It doesn’t matter how long each piece is, or how many different patterns and colors you use. You don’t even need expert sewing skills.
The supplies below are what I used to make a rag rug that is 36 inches wide.
Supplies:
- Fabric strips
- Bonnie 6mm 100 yard craft cord – this one doesn’t absorb water so won’t get moldy if you need to wash your rug
- 4 ply (or wider) jute cord
- Sewing machine
- 3 reels of white cotton
- Scissors
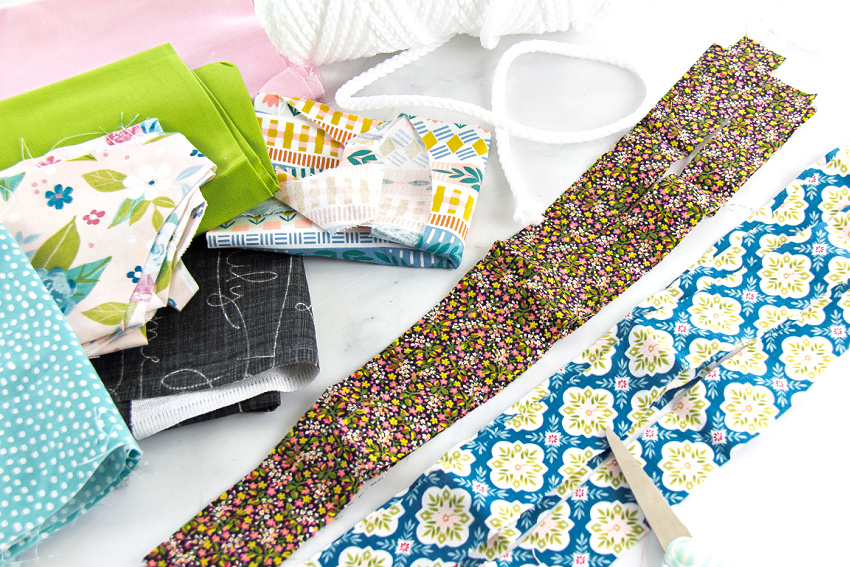
You are going to use a lot of fabric for this project. If you only have a few strips of a particular pattern or color, really space it out because you will use a lot more than what you think.
This rag rug was made using 100 yards of cord wrapped in fabric strips. I then added two rounds of jute cord to finish it off and hide all the fabric ends. If you have a wider cord and jute and can fit that under your sewing machine foot then use it because the project will be finished that much quicker. Unfortunately, 6mm cord was the largest that my basic sewing machine would allow and the jute cord was also scraps leftover from previous craft projects.
Instructions:
Set your sewing machine to a wide zigzag stitch. Test it on a scrap piece of fabric before you start sewing the rug. Make sure your sewing machine is set up on a large table. You need to keep the rug as flat as possible as it gets larger. I used books to keep it elevated to the height of where I was sewing.
Cut all of your fabric into strips. I made mine 1 to 1.5 inches wide and the length varied depending on how much fabric I had left in my scraps bin.
Wind the fabric around the cord on an angle and then curl the cord into a snail shell pattern sewing the pieces together as you go.
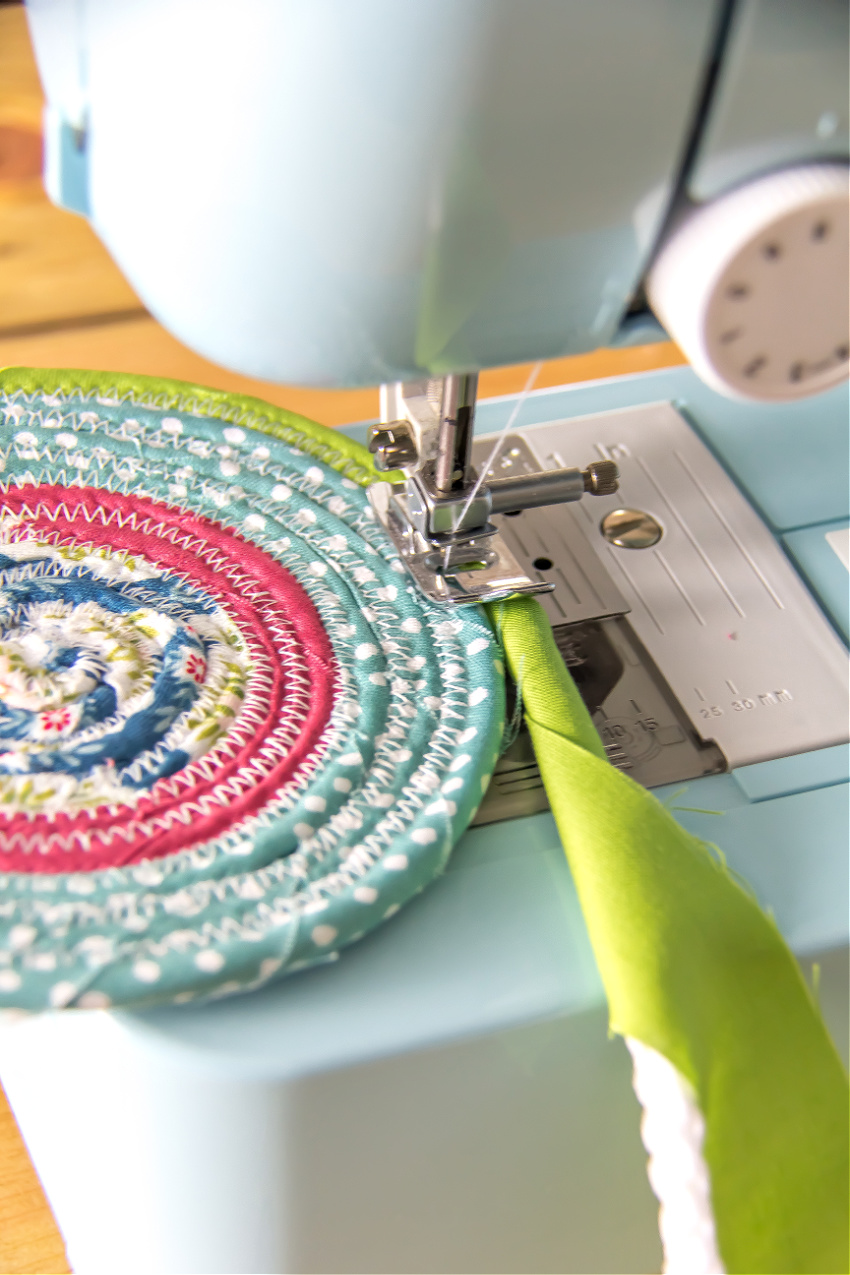
Don’t worry if your stitches aren’t perfect because with all of the frayed ends and changes in colors and patterns you aren’t going to see it once it’s on the floor anyway.
When you need to add a new fabric strip, lay the ends over each other.
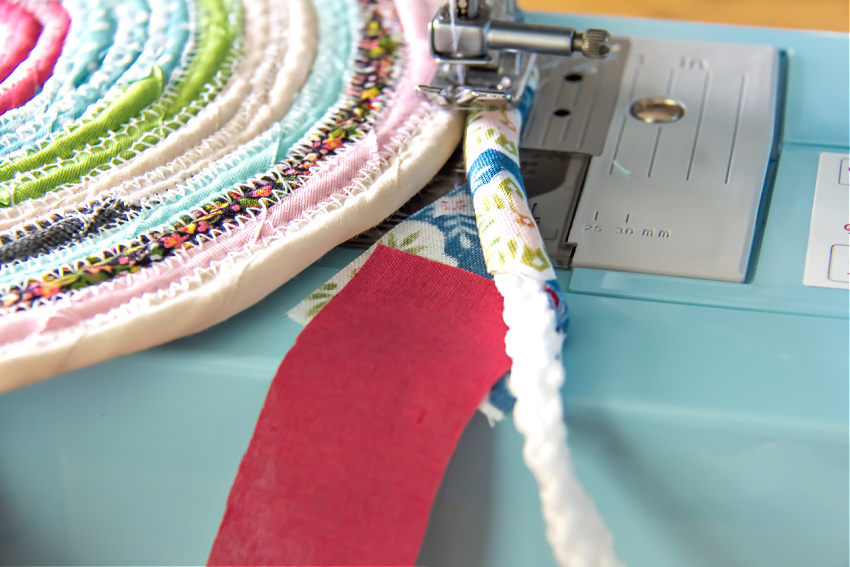
Holding the pieces together, fold them over the cord, and then continue wrapping and sewing.
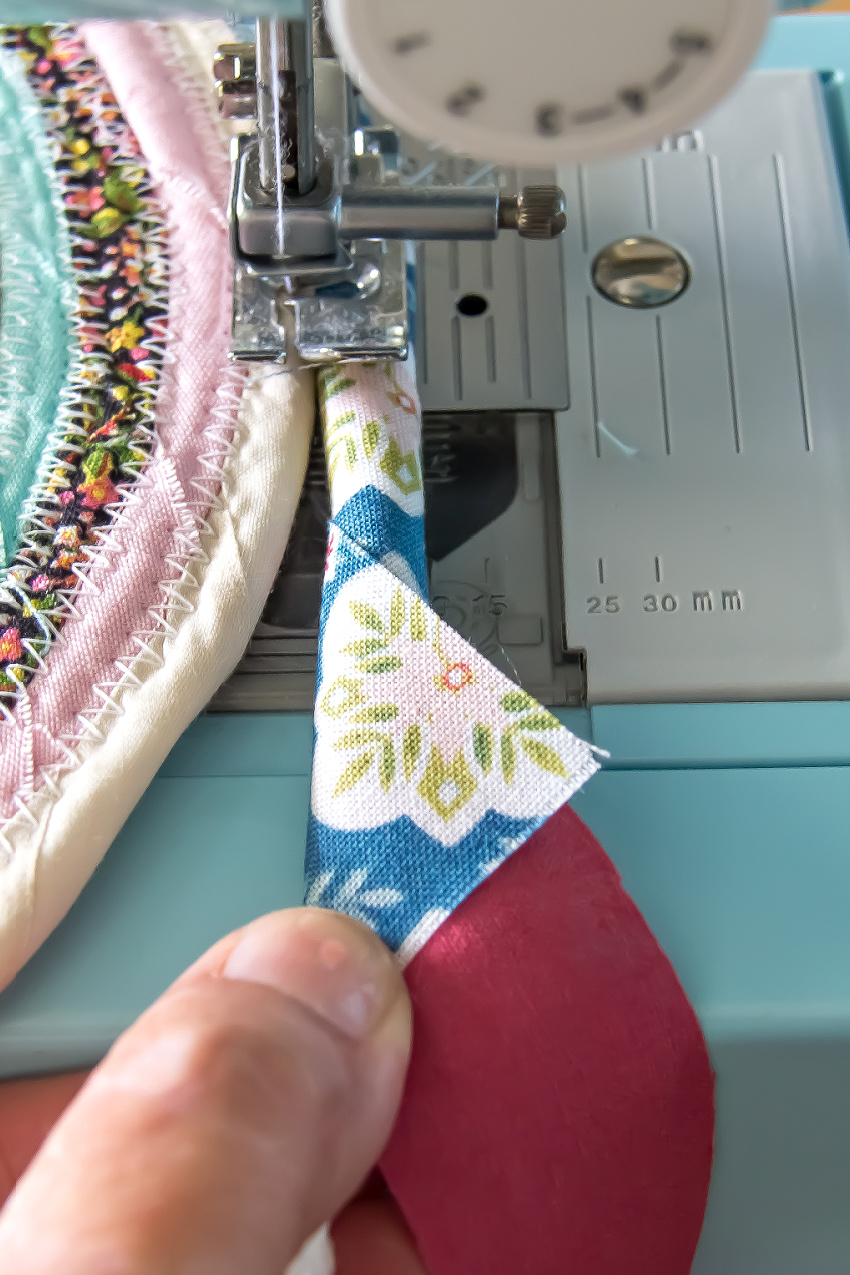
Continue with this pattern, changing patterns and colors as you go. Don’t forget to space out fabric strips that you don’t have very much of.
Don’t forget to keep the rug elevated and flat as you are sewing. As you can see below I stacked books underneath.
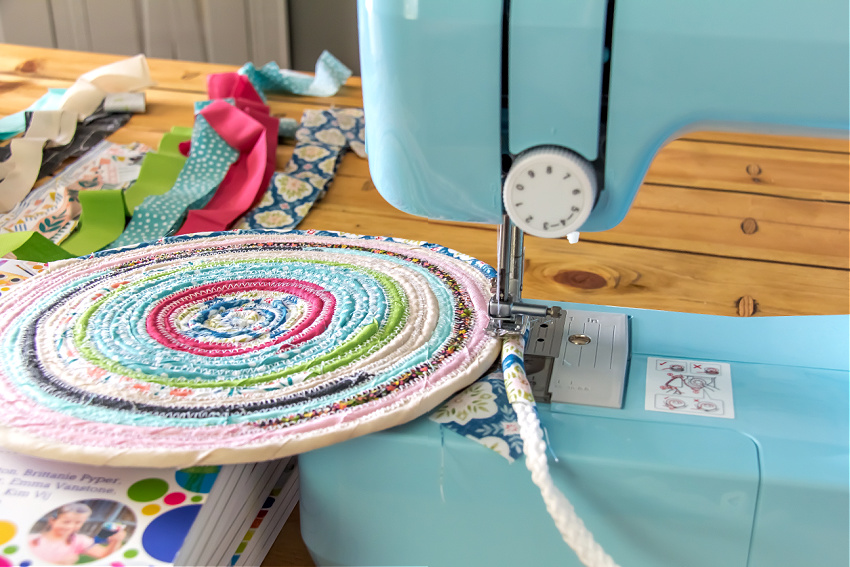
When you reach the end of your cord, you will finish off the project with jute cord. That will hide any messy fabric ends. Simply sew it in the same way you sewed the rest of the rug, just don’t wrap fabric strips around it. I did two rounds of jute cord because the scraps I had on hand were only 4 ply and I wanted a wider border.
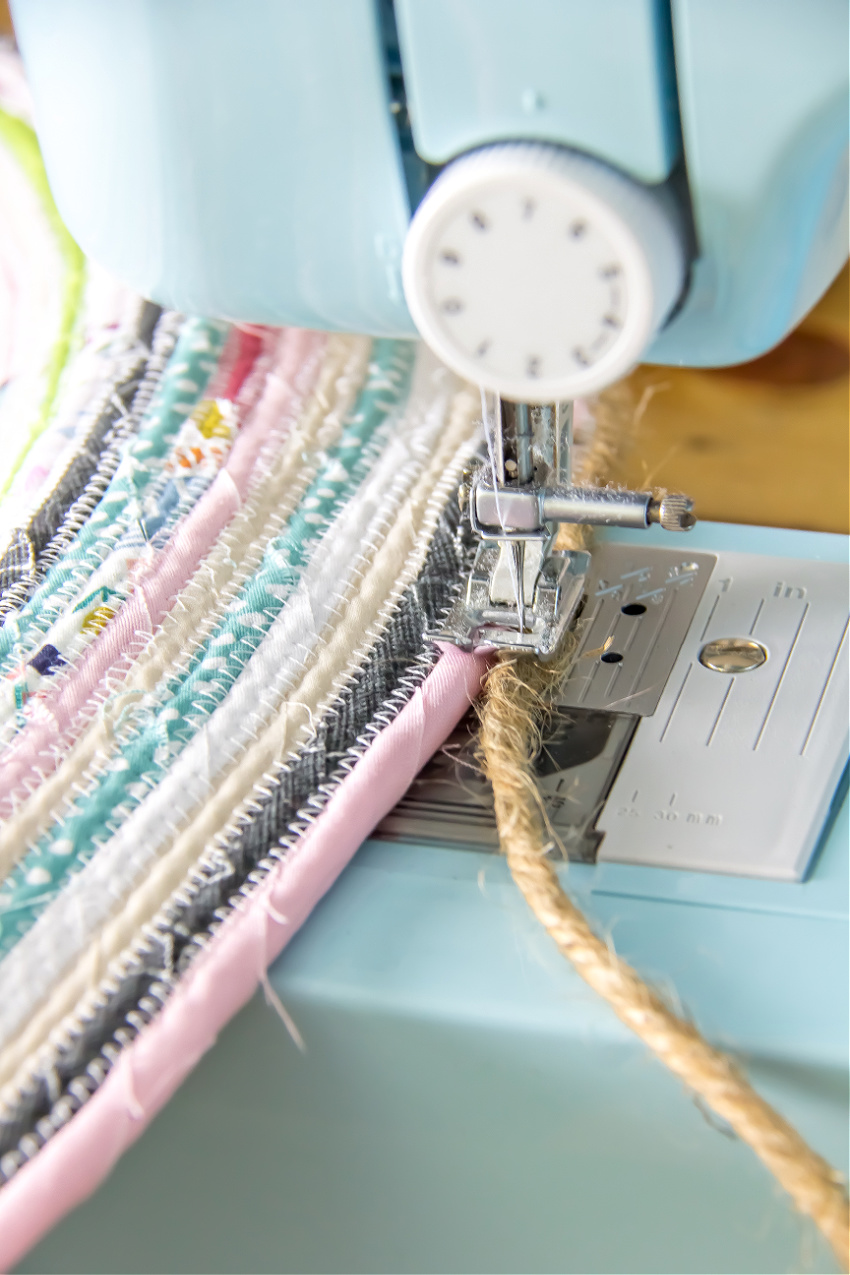
There is no need to cut off any frayed ends of fabric, just make sure you cut off any large cotton pieces. I used three cotton reels (2 were partially used) to make this rug.
Please Pin Post For Later:
