Kids love glitter (heck, so do adults!), and recycling is always a great way to create kid’s crafts, So why not try this cute glittery snowman made from a recycled CD. This would make a perfect ornament too by adding a ribbon hanger or gluing a magnet to the back and hang on the fridge!
Supplies you will need:
- Recycled CD
- Sandpaper
- White acrylic paint
- Mod Podge or white craft glue
- 2 silver chenille stems
- Felt: light blue, orange, white
- Black puffy paint
- Glitter: white, orange, blue, purple, red, green, gold
- Pattern
Note: I used Martha Stewart glitter, but you can use any glitter you like. The Martha Stewart colors I used were Crystal Fine, Fire Opal, Turquoise, Charoite, Garnet, Verdelite, and Florentine Gold. As you may have noticed, all the MS glitter colors are named after minerals and gems. :)
 First, sand the front of the CD to rough it up, this is the side with any printing or logos on it. Paint it white and let dry. Place a piece of paper on the work surface. Now add a second coat of white paint and place it on the paper. While paint is still wet, sprinkle the entire surface with white glitter. Be sure to cover it liberally. Let it sit for several minutes before carefully lifting it and tapping off the excess glitter onto the paper. Use the paper to funnel the extra glitter back into the glitter container.
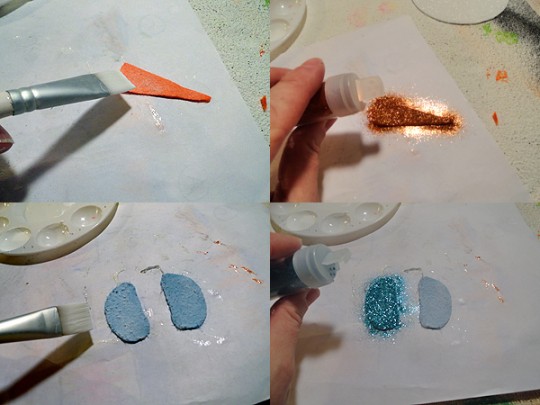
 Using the pattern, cut two ear muffs from light blue felt, the nose from orange felt and the scarf shape from white felt. Paint the orange felt with Mod Podge and sprinkle with orange glitter. Paint the blue felt with Mod Podge and sprinkle with blue glitter. After tapping off excess, return extra glitter to container as described above.
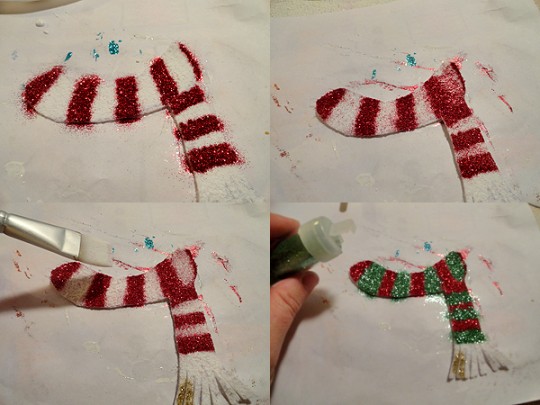
 Cut scarf from white felt using pattern, cut the fringe at the tail of the scarf. Paint with Mod Podge and sprinkle glitter in stripes (red and green). The tail fringe should be gold. As you can see in the top right photo above, when tapping off the glitter, you may get some spill over of red where the green is supposed to go. Simply paint over that with Mod Podge again and add the green glitter. As with each glitter step, tap off excess after each color, returning excess to bottle.
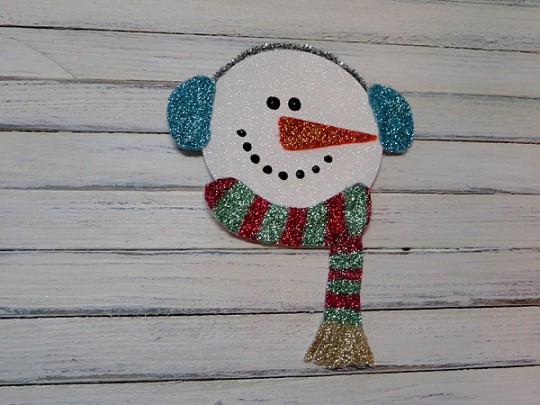
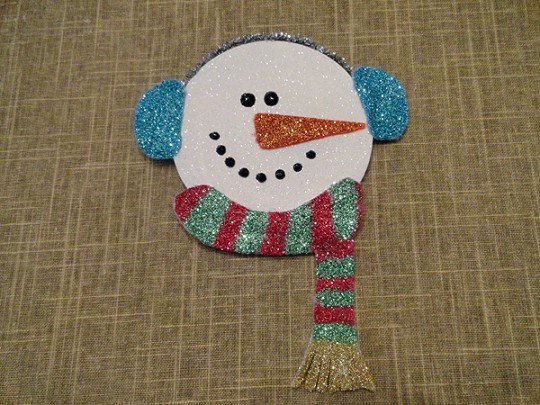
 Twist together the two chenille stems. Curve around the top of the CD and trim with scissors. Assemble the snowman using hot glue. Add the nose, chenille stem, ear muffs and scarf. Do NOT add the face yet! Cut a circle of white felt big enough to cover the back of the CD without it showing in front. Hot glue to the back. Cut felt pieces to fit over the back of the ear muffs and the area where the scarf meets the CD. This will help reinforce the pieces. Turn right side up and use black puffy paint to add eyes and mouth. Set aside to dry completely.
Below is a video showing the glitter since it’s hard to capture that in pictures!
You can turn this into an ornament by gluing a loop of ribbon or yarn to the back, or add a magnet and hang on the fridge!


Just stopping by to let you know that I’ve featured your craft on Family Fun Crafts! You can see it here:
http://funfamilycrafts.com/glitter-snowman-cd/
If you have other kid friendly crafts, I’d love it if you would submit them. :) If you would like to display a
featured button on your site, you can grab one from the right side bar of your post above.
So glittery, i love it!!
This is so cute and i love the idea of making into a fridge magnet.
Thanks everyone! So glad you like him :)
This is a very brilliant idea, now I can make use of my old CDs, and make glittered Snowman out of it. This can also be hanged on my Christmas Tree. Thank you for sharing this wonderful craft for the holidays.
Love this, Amanda! The CD is brilliant – almost as bright as the glitter ;)
Very nice snowman!
Very nice snowman!
This is super-cute! Love it! Wish my daughter were a crafter, sigh . . .
Thanks Vanessa!
crazy crazy cute!!