I have always wanted to dry oranges and turn them into ornaments. I’ve seen these around and had to try it out this year. And it works out perfect for our Letter O in our Holiday ABC series for dried orange ornaments.

Supplies for Orange Ornaments:
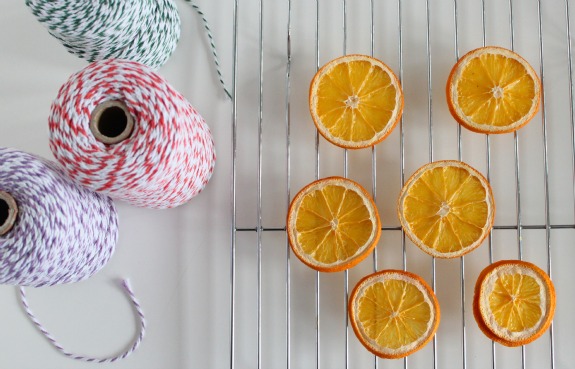
- oranges
- knife
- drying rack and baking pan
- oven or dehydrator
- quilting needle
- twine
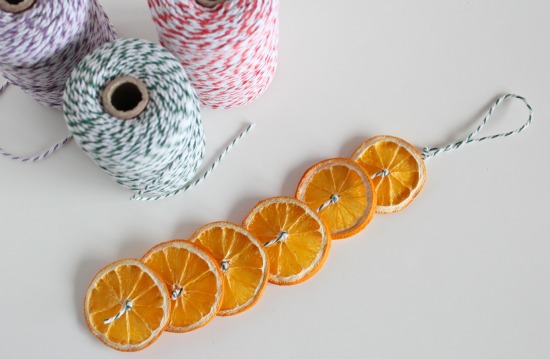
1. Slice your oranges about 1/4 inch thick. For a chain ornament, pictured below, you’ll need 6 slices per ornament.

2. If you’re drying these in the dehydrator, follow your machine’s instructions for drying. If you’re using your oven, lay them on a drying rack on your baking pan. Place them in your oven on the lowest heat setting. My oven is 170 degrees. I left them in the oven for almost 6 hours. Be sure to check on them every hour, set your timer. Dry them completely, no moisture from the orange at all or it will not be flat, it will start to curl as it finishes drying.
Here’s a great tutorial to Dry Orange Slices as well!
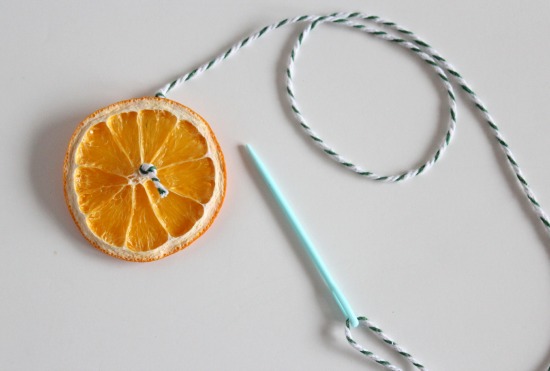
3. Once they are dry, thread your quilting needle with twine. Tie a knot at the bottom.

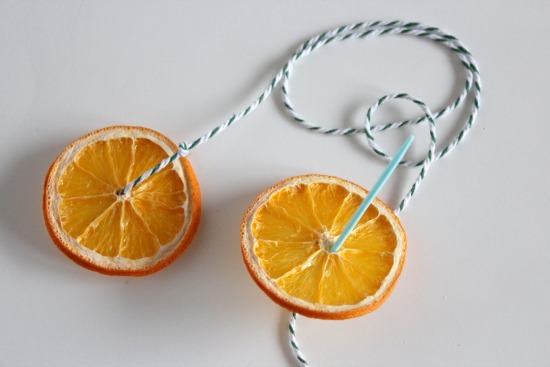
4. Press your needle through the center of your dried orange and tie another knot above about 1 inch. This will be the marker for the next orange to not pass through, leaving them spaced out.

Keep tying knots and stringing your oranges along.

5. Once you’re finished stringing them, make a loop with the top of your twine for the hook. It’s ready to place on your tree.

What are you making with oranges this season?


I love oranges, such a great juicy winter treat. And so fun and pretty as ornaments!