With the cold weather upon us, it’s time to break out the knitting and crochet needles. We’ve got 15 knit and crochet hat patterns, a chunky crochet cowl pattern, and even a super simple scarf pattern. Below we are sharing a free slouchy hat knitting pattern too.
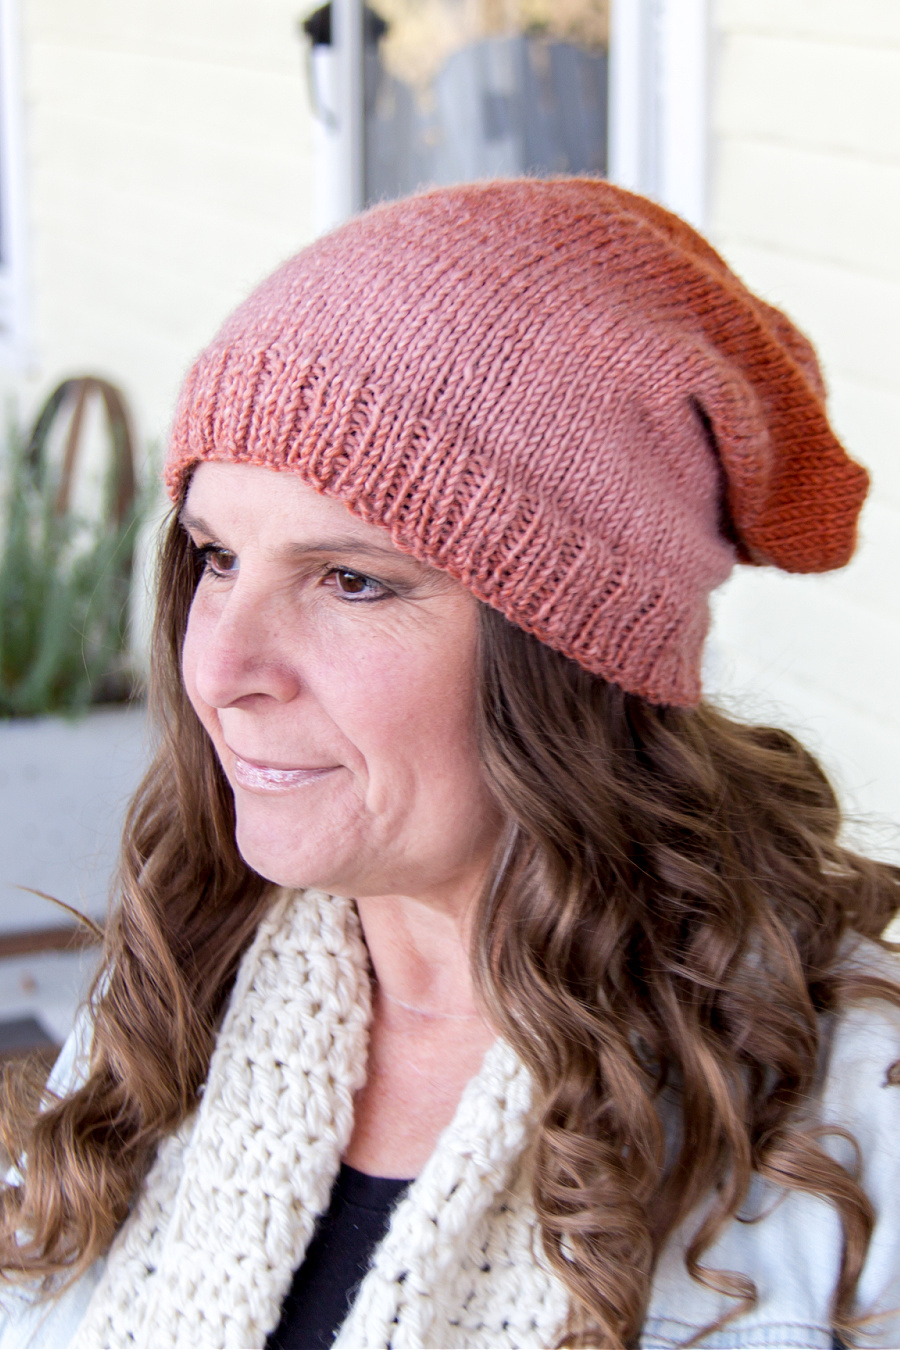
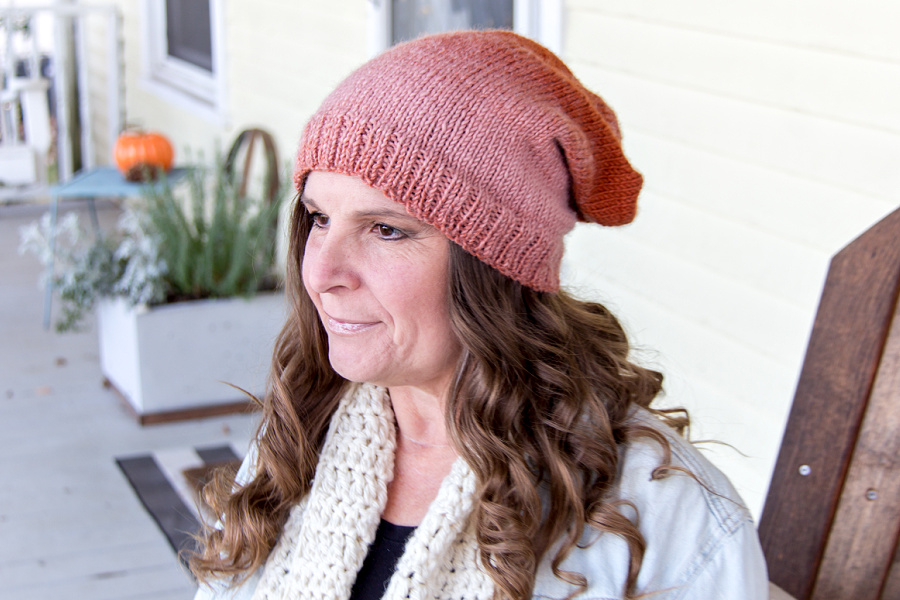
How to knit a slouchy beanie hat
If you’ve always wanted to knit a beanie but aren’t ready to try circular needles, then you will love this easy slouchy hat knitting pattern using straight needles. Our pattern is perfect for beginners.
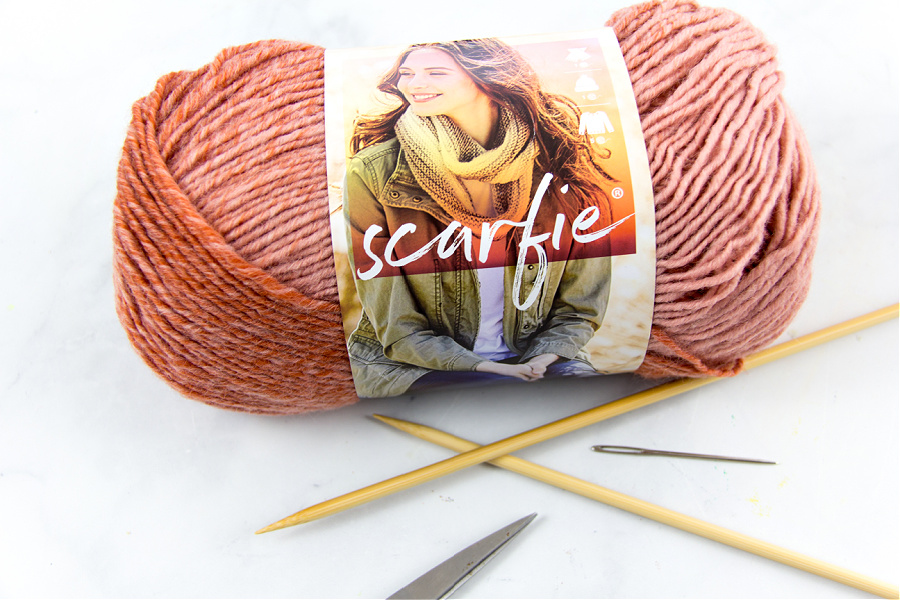
Supplies
- 1 ball Scarfie yarn from Lion Brand – we used rust/cameo
- 5.5mm (size 9) straight knitting needles
- yarn sewing needle
- scissors
Instructions
10 stitches = 2 inches: use this as a guide for casting on if you need to make your hat smaller or larger
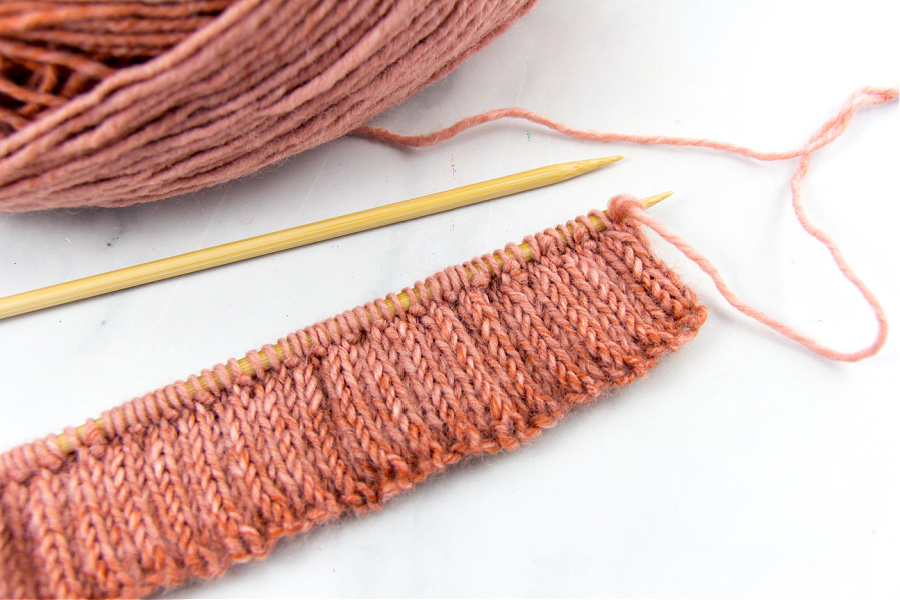
Cast on 90 stitches. If knitting your beanie smaller or larger decrease or increase this number by 3’s so that the band pattern turns out.

1st row: Purl 1, Knit 2, repeat until the end of the row. Your last two stitches will be the knit 2.
2nd row: Purl 2, Knit 1, repeat until the end of the row. Your last stitch will be the knit 1.
Repeat these two rows until your work measures 2 inches.
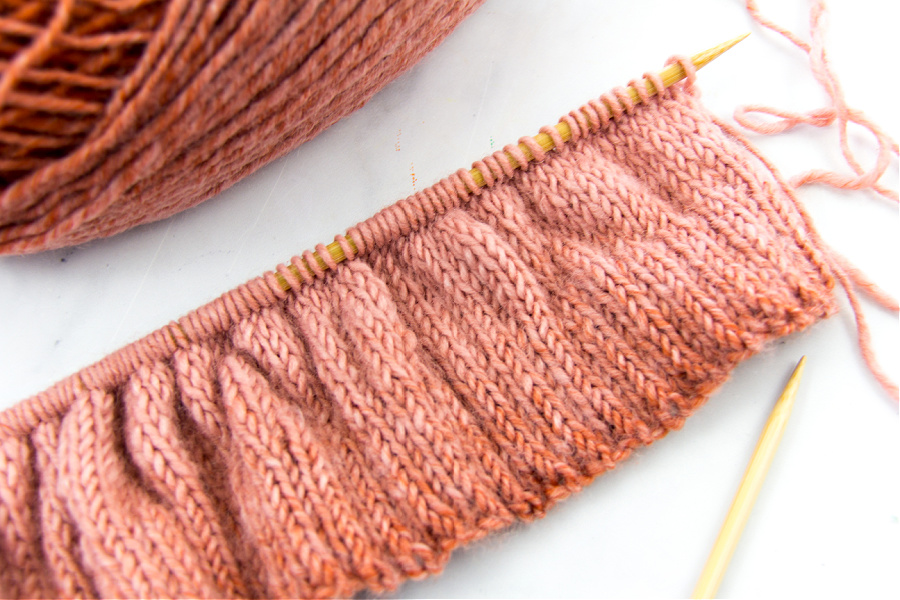
On your next row knit every stitch.
On the following row, purl every stitch.
Repeat both of these rows until your work measures 12 inches from the beginning of the band.
Cast off all of your stitches, and use the sewing needles to hide all of the loose ends.

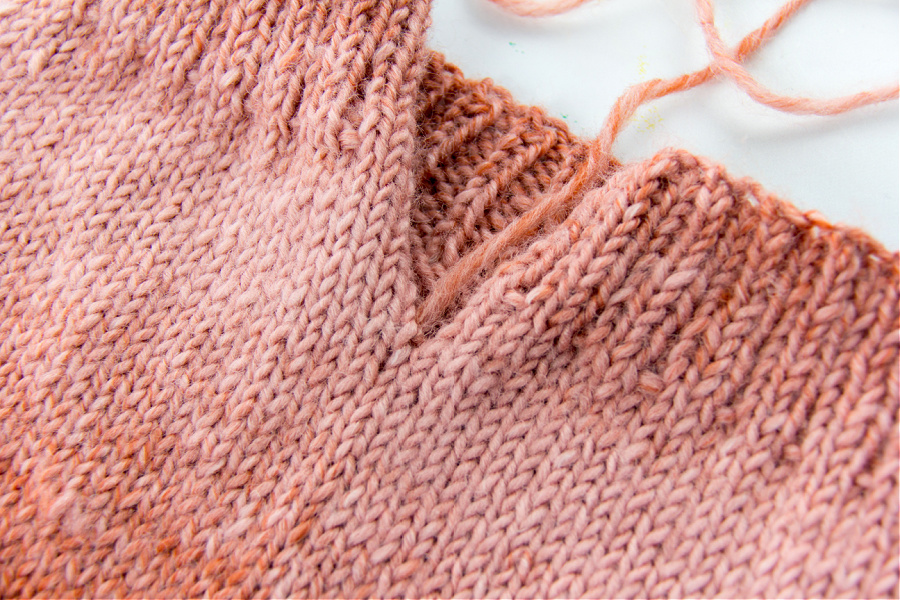
Lay the hat in front of you with the band of the beanie along the bottom. Fold your knitting in half (left to right, or right to left).
Using your sewing needle and yarn, use a mattress stitch to sew the sides together to create a hidden seam in the back of the beanie. Tidy up the excess yarn once you’ve finished.
Again, use your sewing needle and yarn for the next step, with the wrong side of your knitting facing out. Work your way around the opening at the top of the beanie. Put your needle and thread through every 2-3 stitches, gathering the opening together as you work your way around. Sew a few stitches to hold the gathered top together.
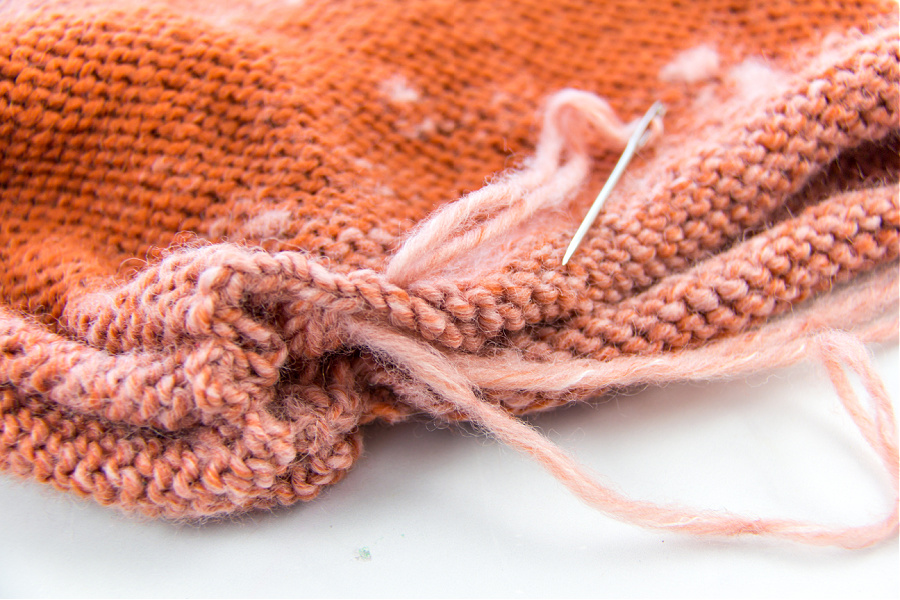
Turn your slouchy beanie back the right way and you are ready to wear it.
Pin this post for later