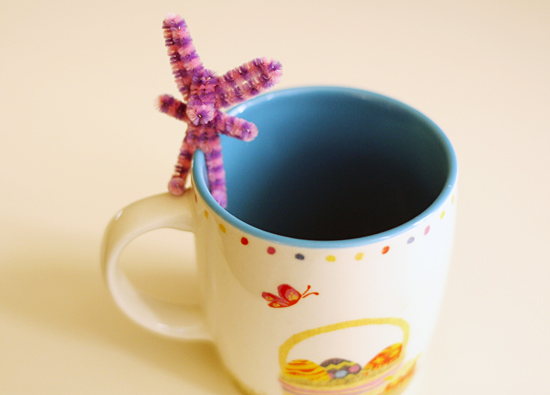
My girls love both crafts and teeny tiny things, so these sweet little pipe cleaner bunnies are the perfect spring project for our house. I think they are taking over the dollhouse as we speak, turning it into an Easter wonderland. So fun! Once you get the hang of making these little bunnies, you can quickly make a whole herd of them. (What do you call a group of rabbits – anyone know?)
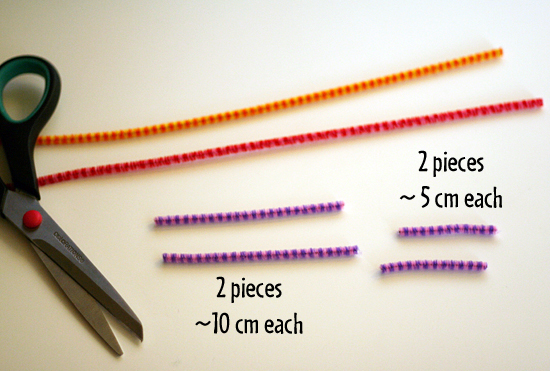
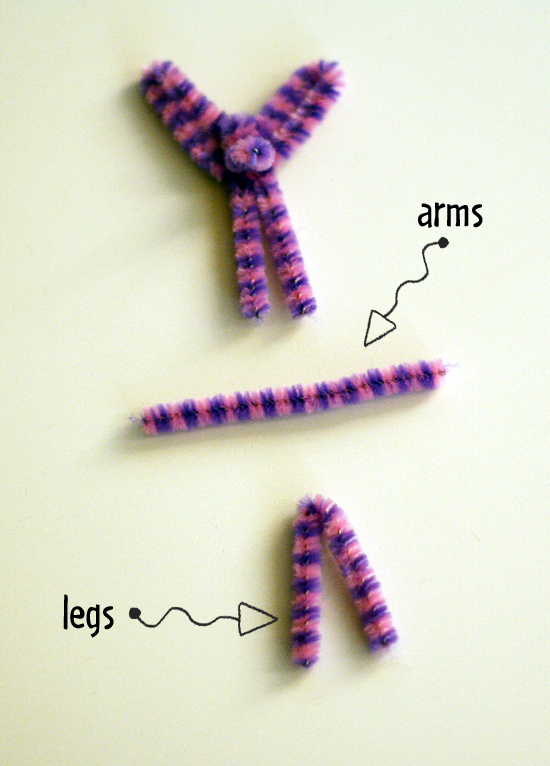
Each bunny is made with a single pipe cleaner. Cut your pipe cleaner into 4 pieces – 2 longer pieces, around 10 cm each, and 2 shorter pieces, around 5 cm each. Sometimes the ends can be a little sharp after cutting, so be careful!
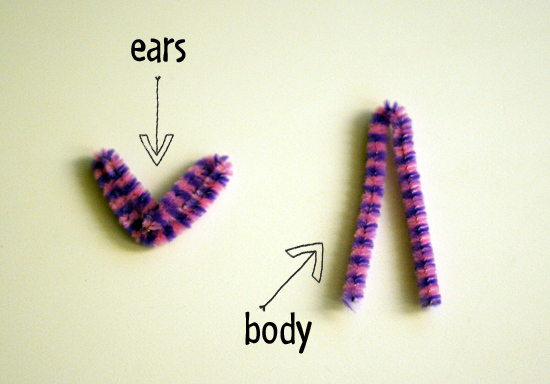
We’ll start with our longer pieces. First, make the ears with one piece by folding the ends in toward the center, making a V shape. For the body, just fold the piece in half.
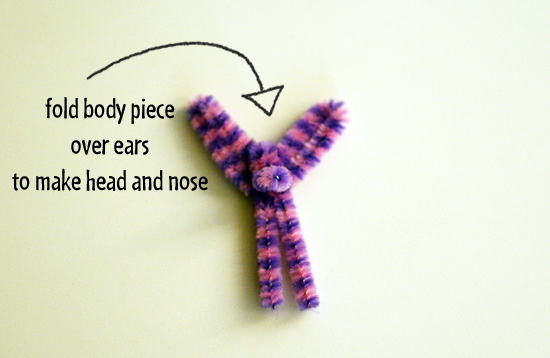
Lay the ears on top of the body, with the folded end of the body sticking up beyond the ears just a little. Fold the body piece over the ears to secure. To make a little nose, bend the end of the folded-over piece up just a bit.
The two shorter pieces will be the arms and legs. Leave the arm piece straight, and fold the leg piece in half. You can bend up the ends of the legs to make feet, if you like.
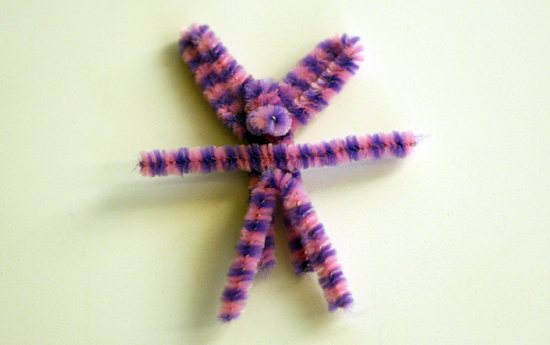
Lay the arms and legs on top of the body. Fold the body piece up and over the arms and legs, tucking under the bunny’s chin.
I thought my bunny’s arms looked a little long, so I folded them in half at this point, too.
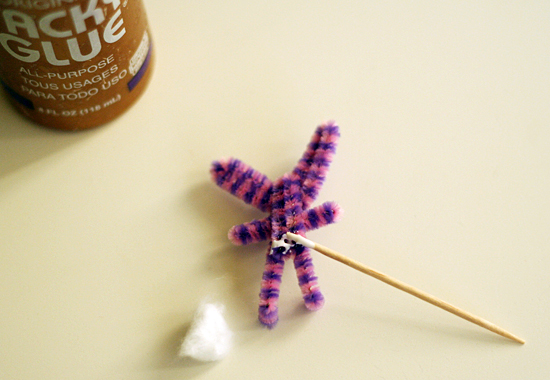
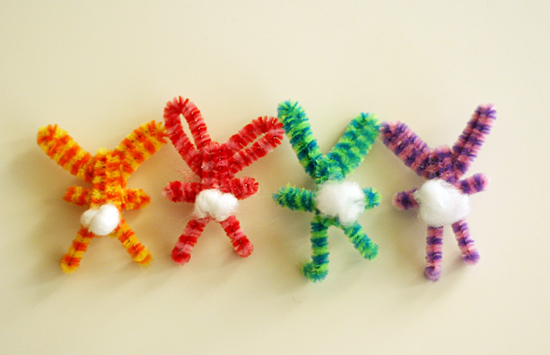
Now, let’s add a fluffy tail! Apply a dab of tacky glue to your bunny’s behind and attach a small piece of cotton ball for a tail. A small white pom-pom would work, too.
Look at those cute bunny tails!
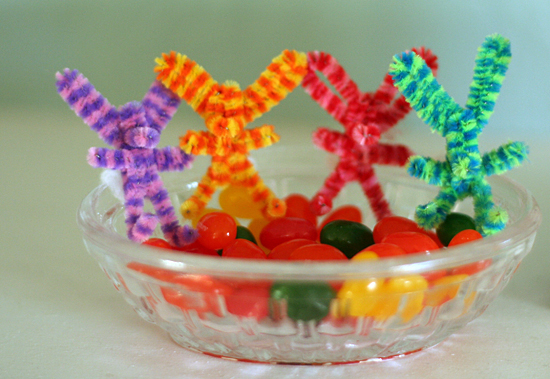
Since we made these little bunnies, they’ve been popping up all over the house – in the candy dish, by the piano, on windowsills and nightstands. They would be super cute with some tiny googly eyes, too!
Happy spring crafting!


a group of bunnies is called a colony or nest. (thank you wikipedia!)
What a cute idea! My 6YO would love it!