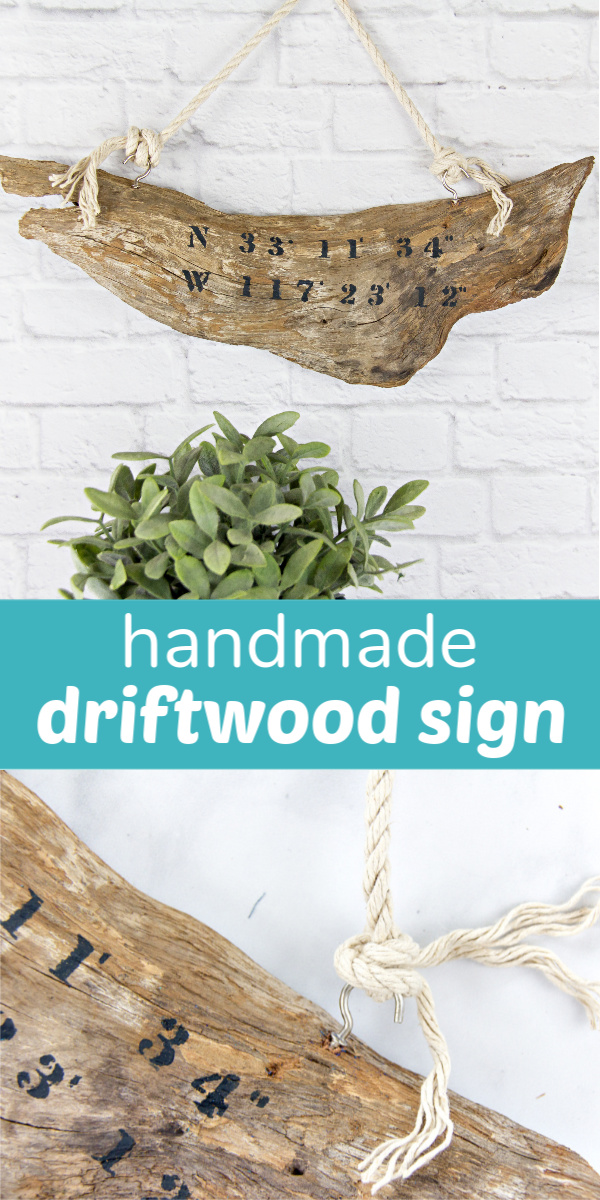
If you love natural wood crafts, or even beach crafts, then you will love this handmade driftwood sign tutorial. It’s a wonderful way to preserve a special memory, or a place that means a lot to you, it also makes a wonderful handmade gift.
DIY Driftwood Sign for Your Home
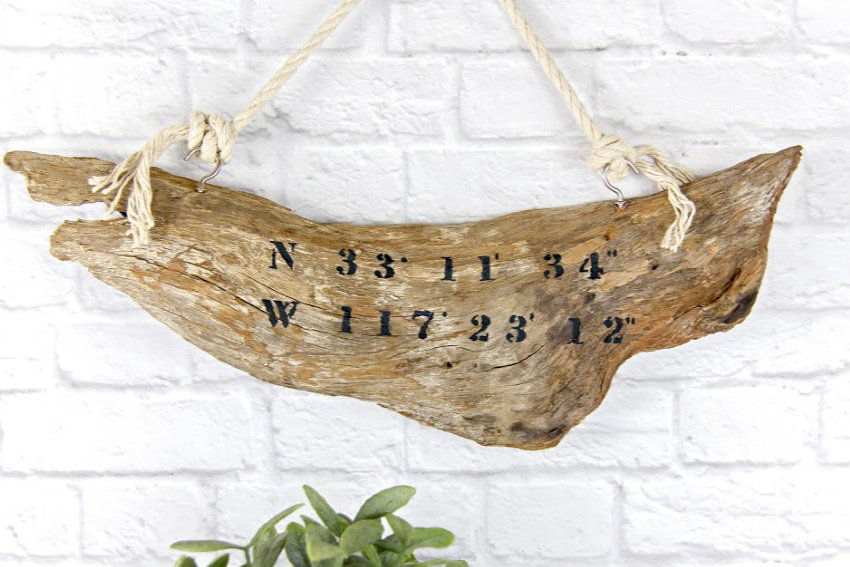
I met my partner about four years ago. Our first date was at a restaurant by the beach that was followed with a stroll along the boardwalk and pier. We are preparing to move to a different state at the moment and so I’m trying to hold onto those memories. On a piece of driftwood, I decided to stencil the coordinates of that spot from our date. Something that we can hang in our new home with photographs of all of the memories we created in that spot over the years.
How To Make A Driftwood Sign
Driftwood signs are so easy to make that you’ll be whipping them out as gifts and decorating your own home with them. If you don’t live by a spot that you can find a small piece of driftwood to take home, check your local gardening center as they often sell them.
Note: Please check your local laws about collecting driftwood from beaches and parks.
Supplies:
- Driftwood
- Cup hooks
- Rope or cord
- Stencil
- Paint and a paintbrush (I used charcoal grey paint)
- Wire brush or a coarse cleaning pad
Instructions:
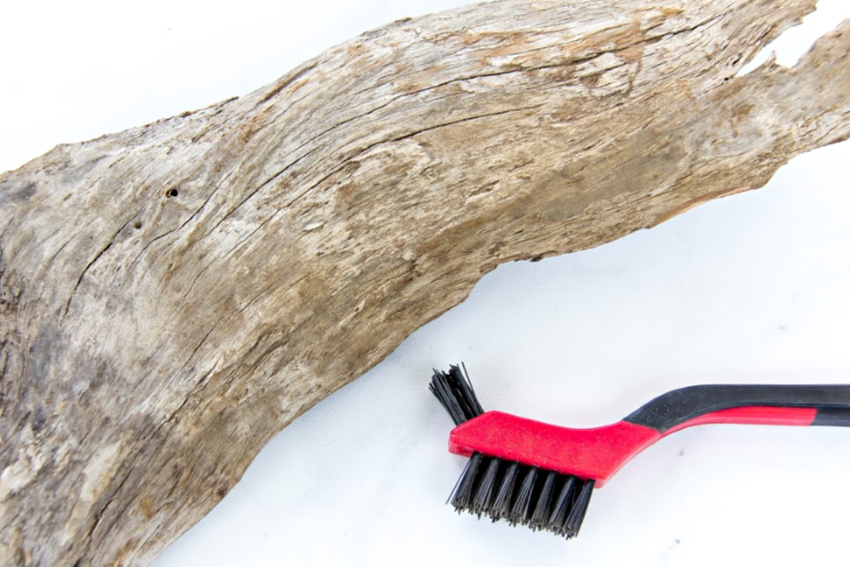
The first thing you want to do is clean your driftwood to remove excess dirt. I used a brush to do this, but you could also try a little steel wool or a coarse cleaning pad.
Once you’ve removed the dirt and any loose pieces you are ready to paint. I use these Martha Stewart stencils often, they have a sticky back so they don’t move around. They don’t adhere very well to natural wood, but well enough. I needed to use a few numbers more than once so excuse the place marker stencils.
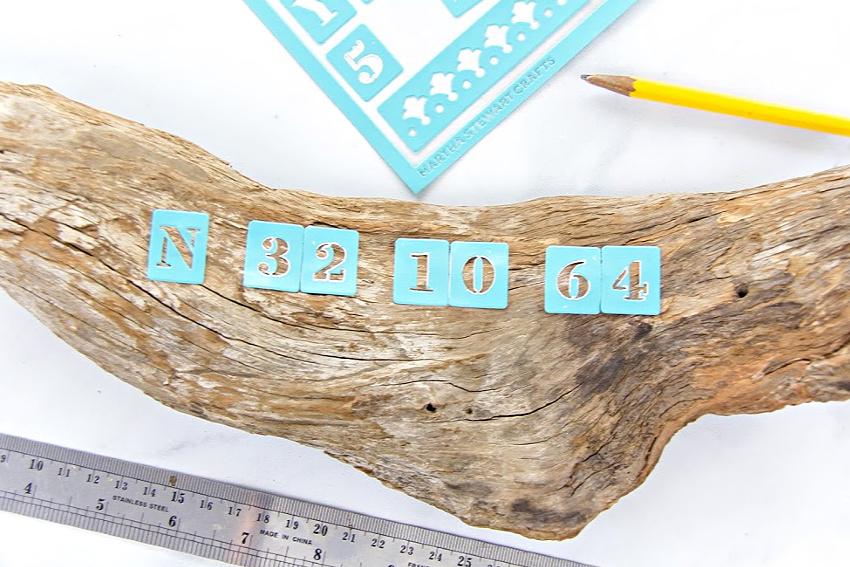
Tip: do an online search for the longitude and latitude coordinates of your favorite spot to stencil.
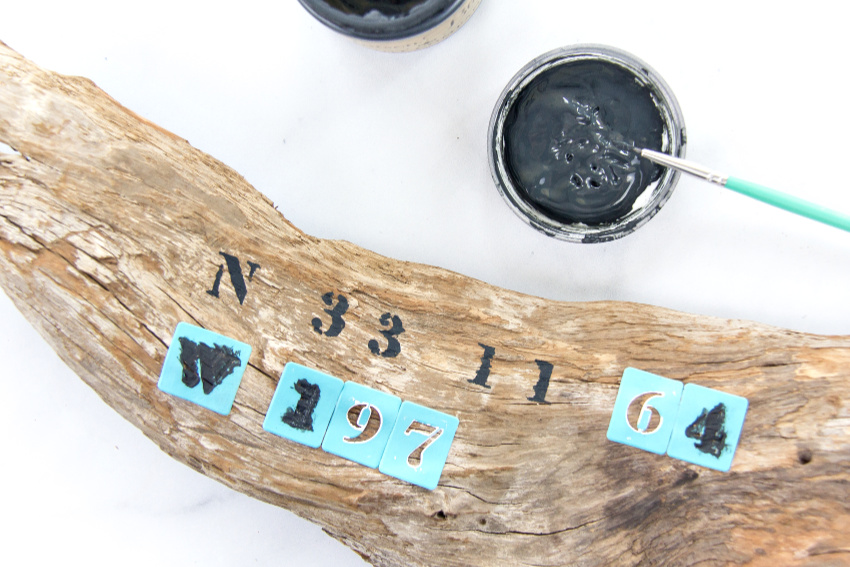
Once you’ve placed the stencils exactly where you need them carefully paint over the top. The best part is if you accidentally make a mistake you can just dab it with a dry cloth and then use your wire brush to remove the paint and start over. I might have accidentally painted over one of my place marker stencils and had to do this.
Feel free to spray a thin layer of a clear topcoat over your driftwood if you like. I prefer to keep it natural though.
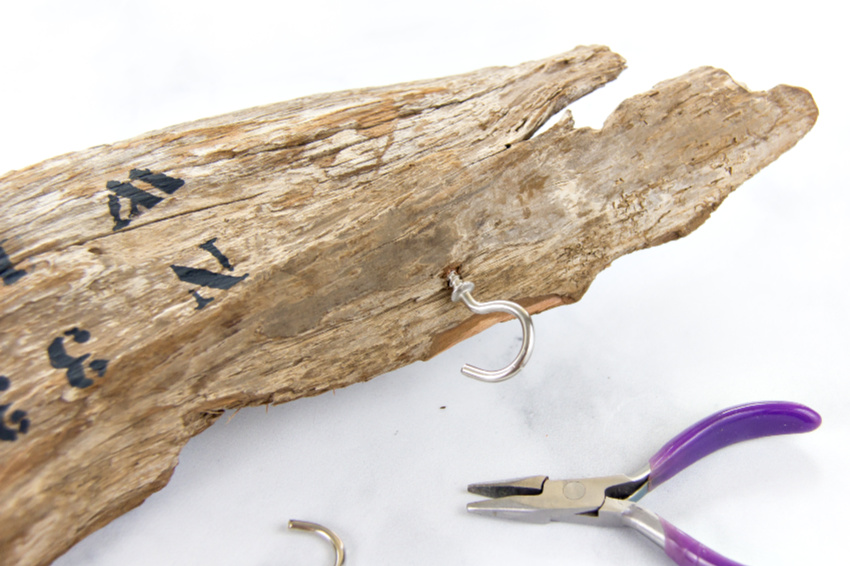
The last step is to put hooks and rope onto your sign for hanging. Very carefully wind cup hooks into the top of your driftwood. As it got tighter I found using small pliers helped. If the wood gets a little messy around where you are winding it in, use your wire brush to remove any small splinters of wood.
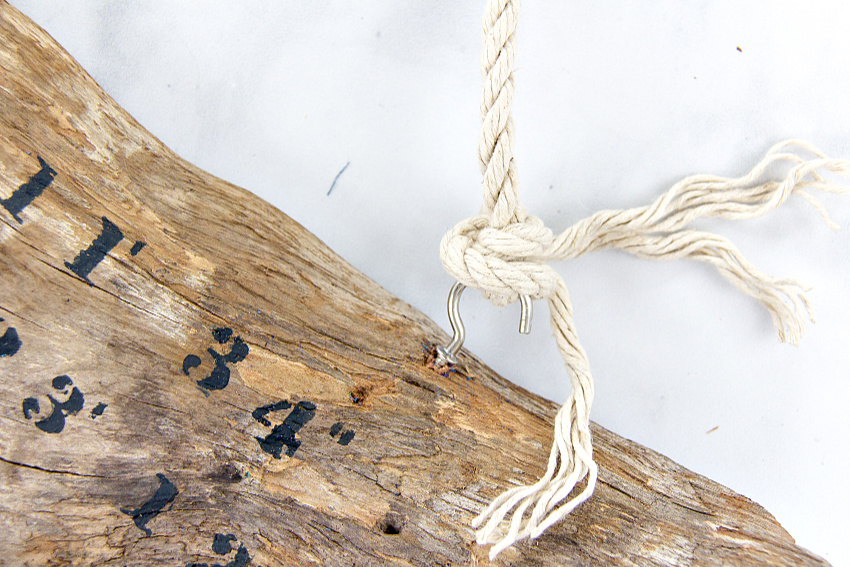
Tie rope onto the hooks and you are ready to hang your sign. I also untwisted the ends of the rope below the knot so they would hang over the wood.
Please Pin Post For Later: