For You
Spark Creativity
Maker Stories
DIY Projects
Crochet & Knitting
Painting Projects
Paper Crafts
Sewing & Stitching
Quilting
DIY Watermelon Straw Tote Bag
Stitch Up a Maker Mama Llama
Crochet Sun Coasters for Summer Sippin'
With the Kids
Kids Crafts
Kids in the Kitchen
Family Activities
Family Games
Family Travel
Outdoors Activities
Educational Fun
Tweens & Teens To-Do's
Parenting Tips & Tricks
Birthday Ideas
Craft a Sunshine Summer Journal
Yarn Tassel Keychain Kids Craft
Sunshine Yarn Weaving
From the Kitchen
All Recipes
Appetizers
Bread
Breakfast
Cookies
Desserts
Drinks
Fruits & Vegetables
Lunch
Salads
Snacks
Soups
Holiday Recipes
Meal Prep
Buying Seasonal Fruits & Veggies
Easy BBQ Chicken Skewers
Simple Summer Fruit Salad
For the Home
Home Decor
Organization
Party Planning
Green Living
Gift Giving
Ideas for Crafting Llamas - we're obsessed
Planning a Family Disneyland Vacation
DIY Ideas to Decorate with Air Plants
Holidays
Holiday Recipes
Birthday Ideas
Party Planning
Gift Ideas
DIY Projects for National Watermelon Day
Over-the-Top Cakes You Can Bake at Home
Celebrate National Ice Cream Sandwich Day
Make These Bright and Colorful Pasta Bug Kids Crafts
Kid Crafty Fun
Truffula Trees Blow Painting with Straws
Get Crafty
9 NOW Ideas: Gardening Activities for Kids
Go Green
Adorable and Unique DIY Easter Basket Idea for Kids
Hoppy Spring
DIY Projects Mom Will Love
For You
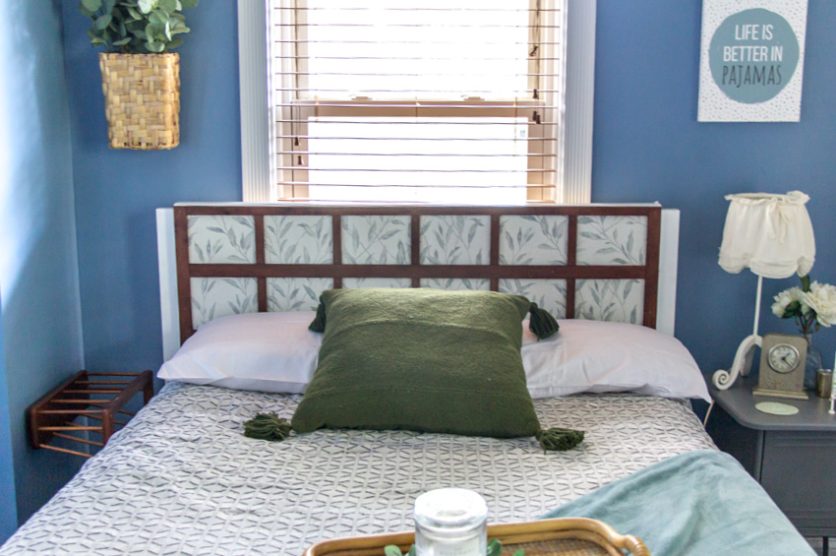
Easy DIY Wood Headboard for Your Bed
For the Home
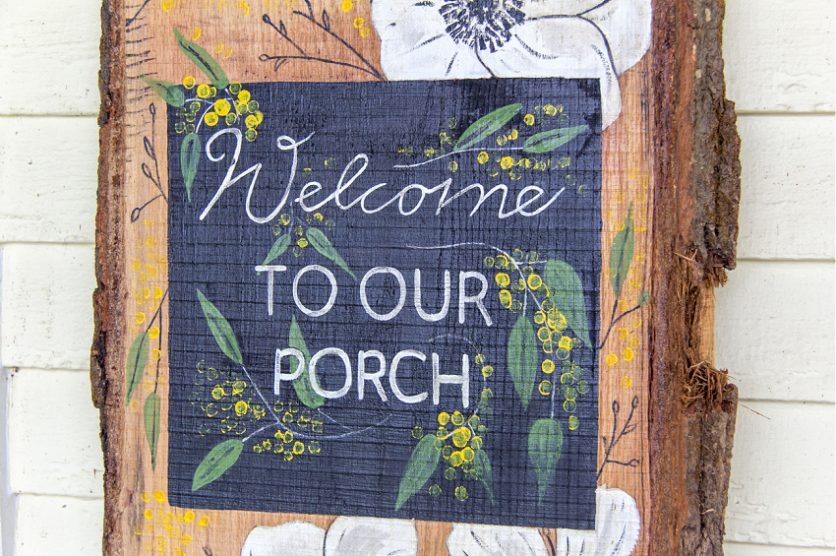
Make a Beautiful DIY Porch Sign
For the Home
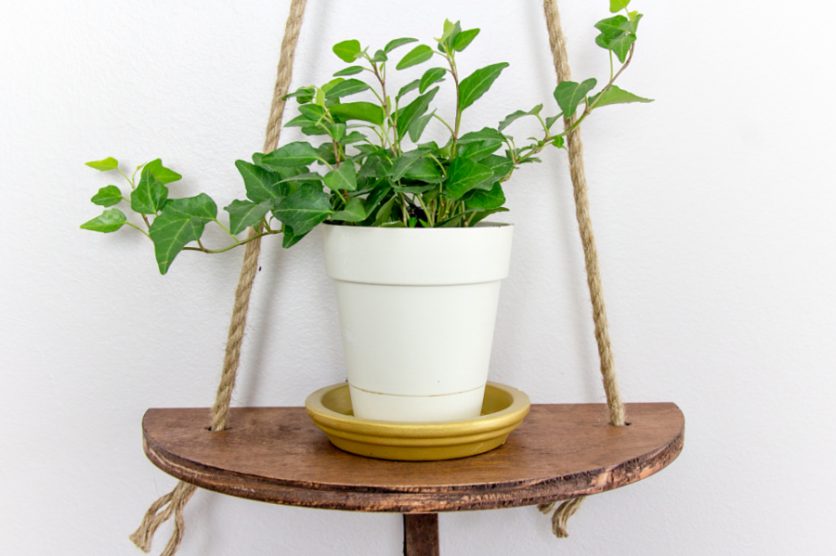
Make a Beautiful Indoor Hanging Planter
Make Something Crafty for Mom
With the Kids
Mothers Day Cards with Plastic Bottle Stamped Flowers
With the Kids
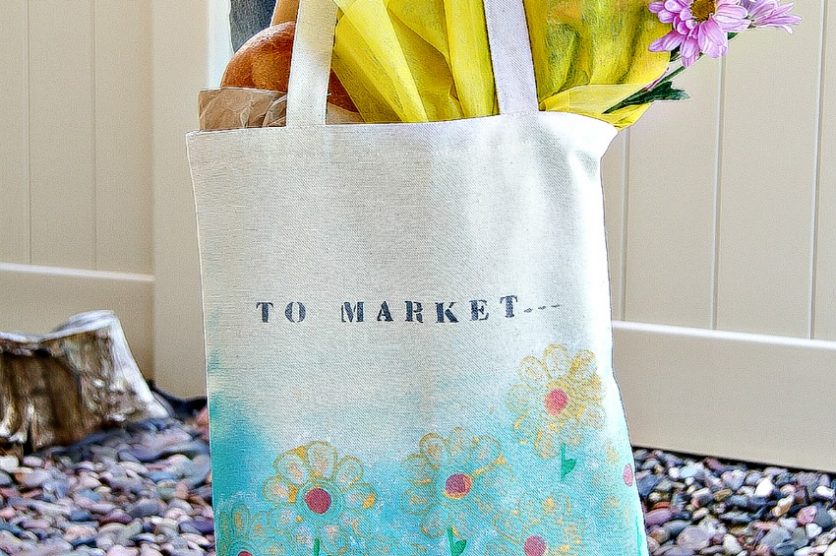
Hand-Painted Shopping Bags For Mom
With the Kids
Kid-Made Jewelry Dish Gift for Mother’s Day
Spring Planting Indoors
For You
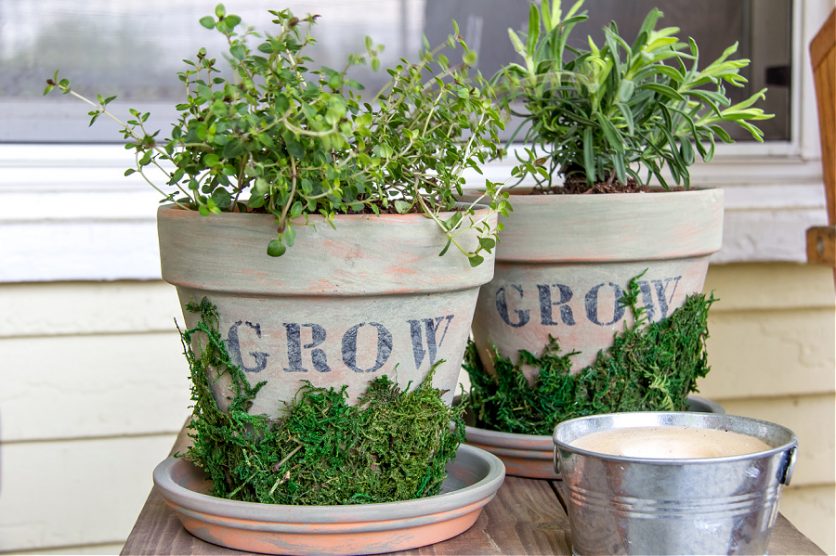
Decorate and Paint Terracotta Planter for Herbs
For You
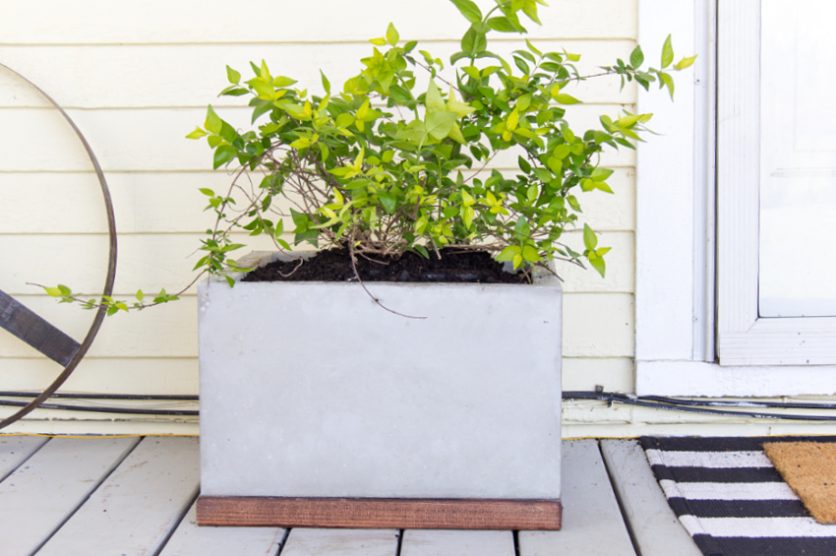
How to Make a DIY Concrete and Wood Planter
For You
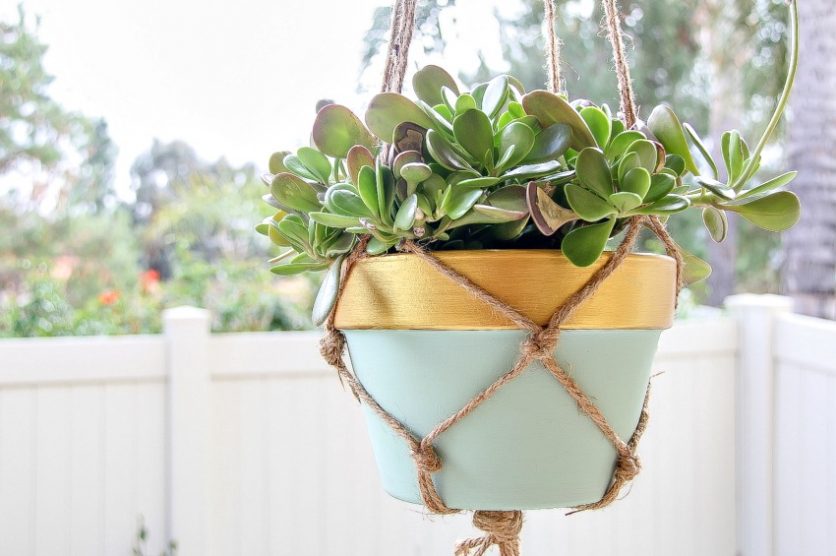
DIY Macramé Plant Hanger for First Timers
Easy One Pot Meals to Feed the Family
From the Kitchen
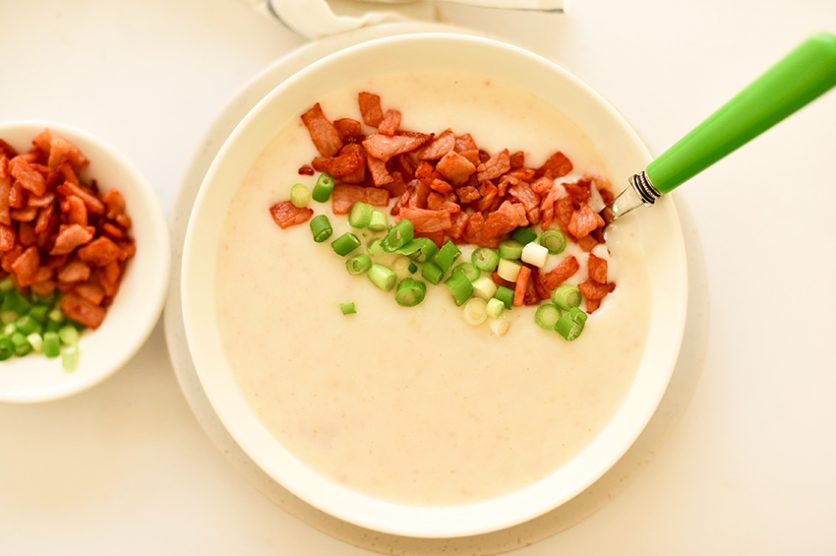
Creamy Potato Soup Recipe
From the Kitchen
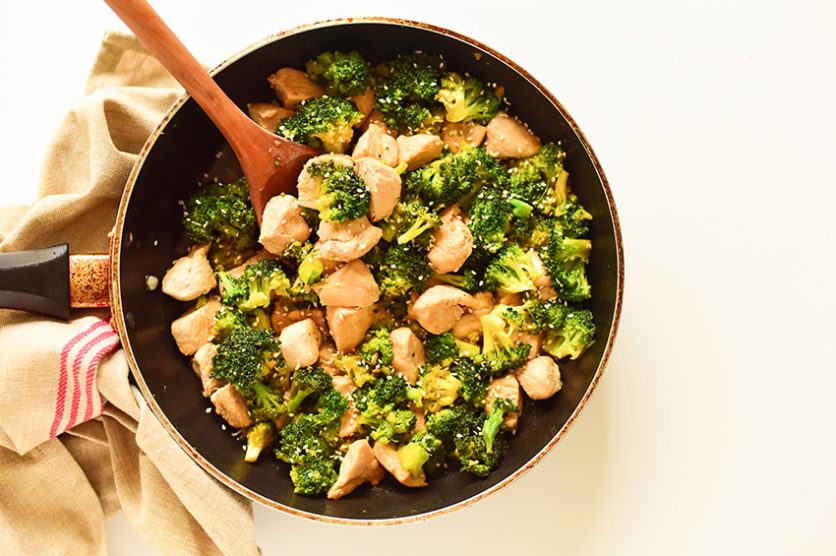
One Pot Meal: Chicken and Broccoli Stir Fry
From the Kitchen
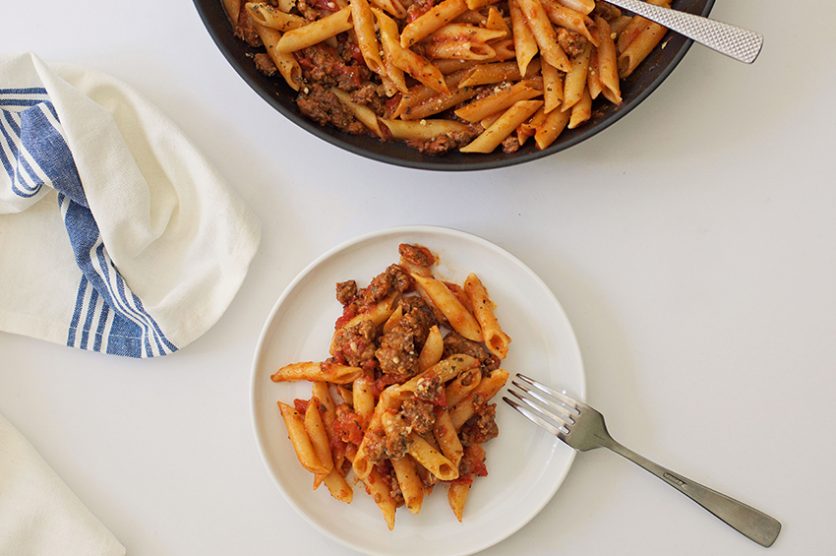
One Pot Sausage Pasta Recipe
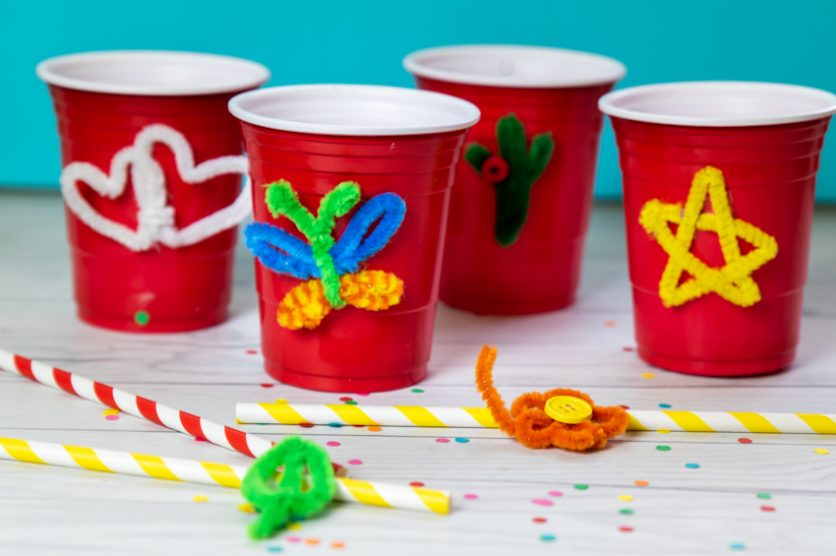
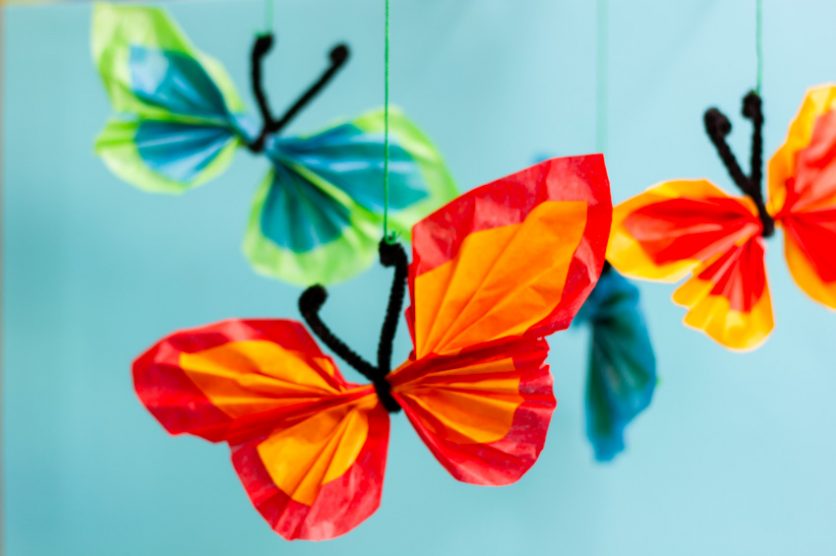
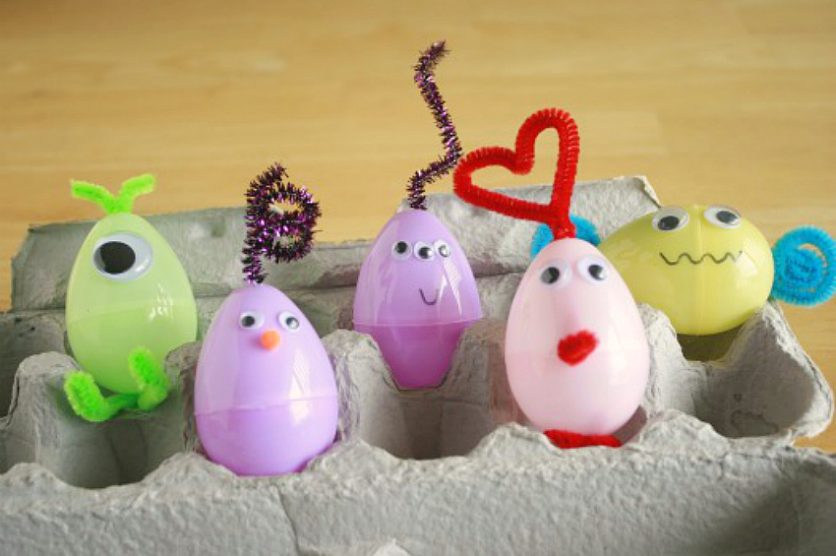
Pipe Cleaner Crafts Kids will Love
With the Kids
DIY Pipe Cleaner Drink Glass Markers
With the Kids
Tissue Paper Butterfly Mobile Craft
With the Kids
Silly Alien Easter Egg Creatures
Spring is in the air
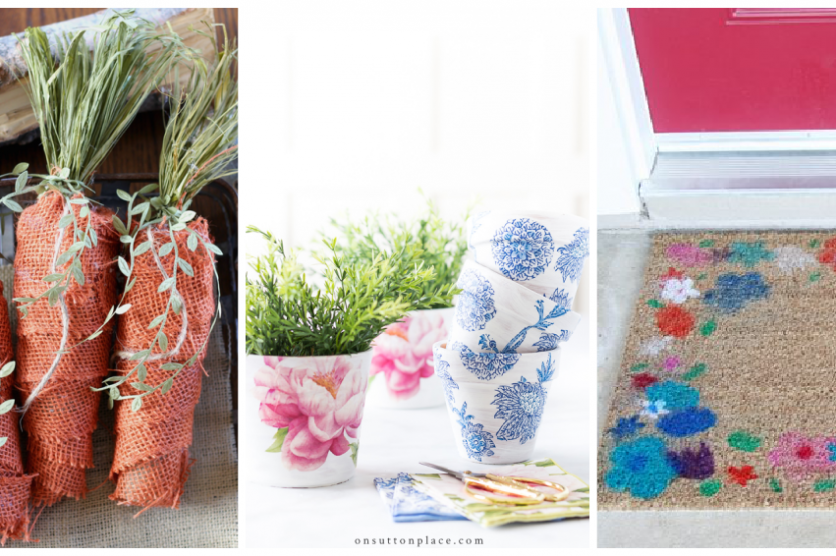
For the Home
9 Ideas for Spring DIY Home Decor
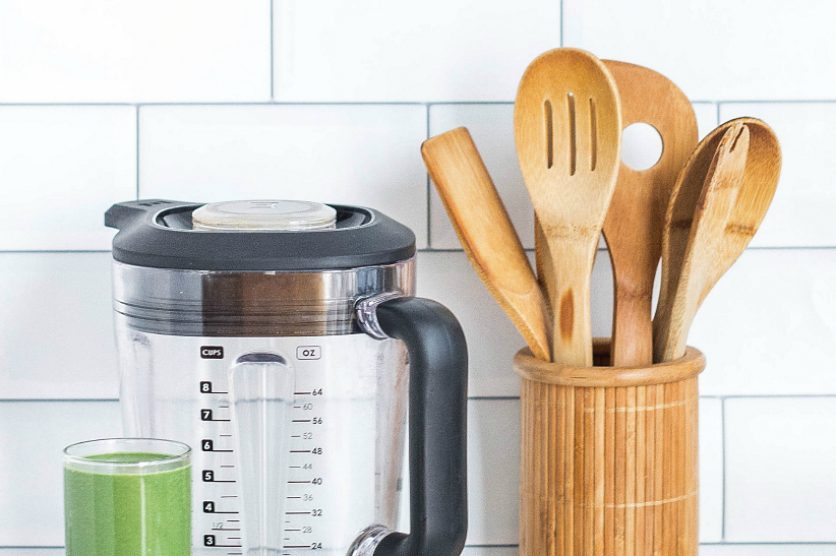
For the Home
9 Ways to Organize Your Kitchen for Optimum Flow
For the Home
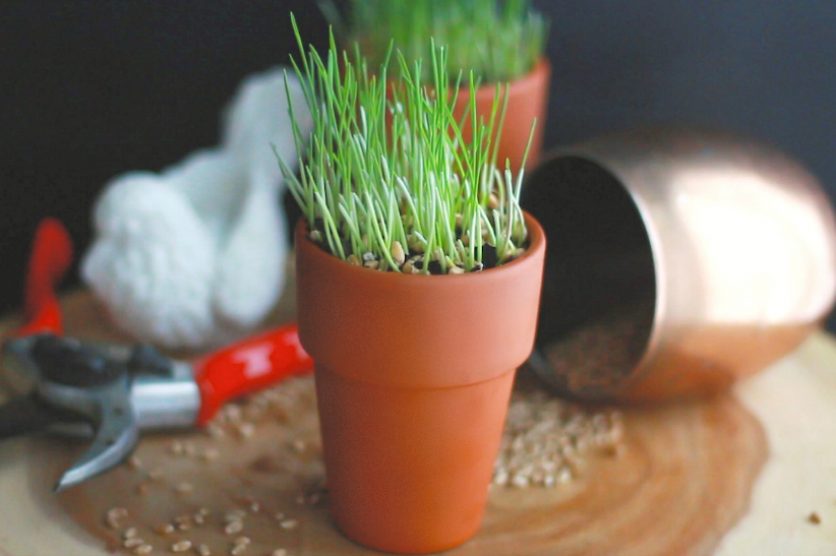
How to Grow Your Own Wheatgrass
never miss a post!
Submit
Recent Blog Posts
With the Kids
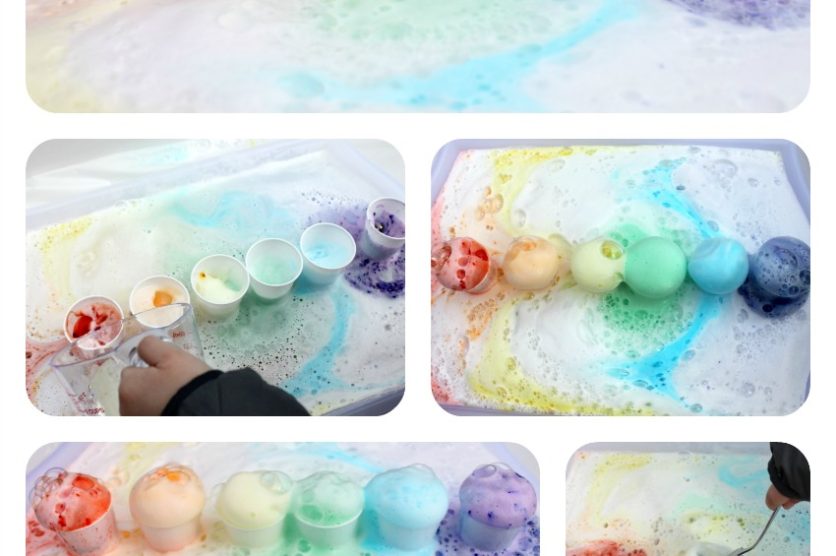
Baking Soda and Vinegar Rainbow Science
From the Kitchen
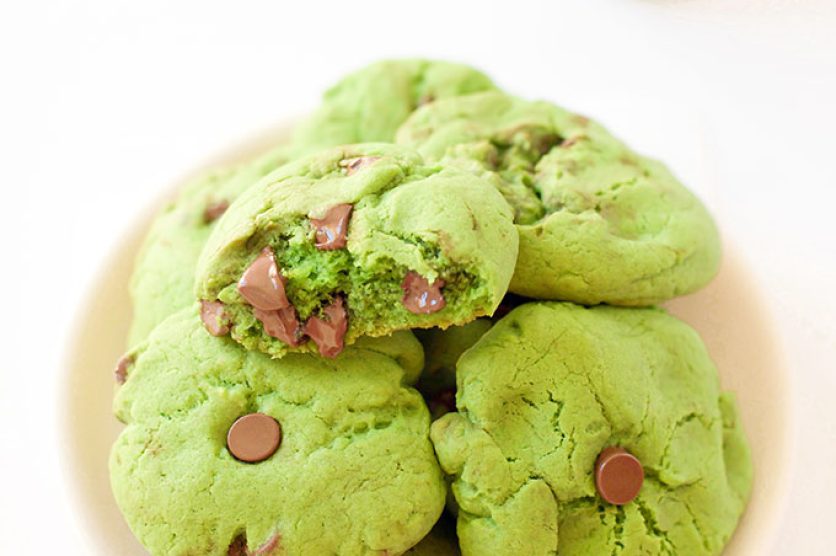
Green Mint Chocolate Chip Cookies
From the Kitchen
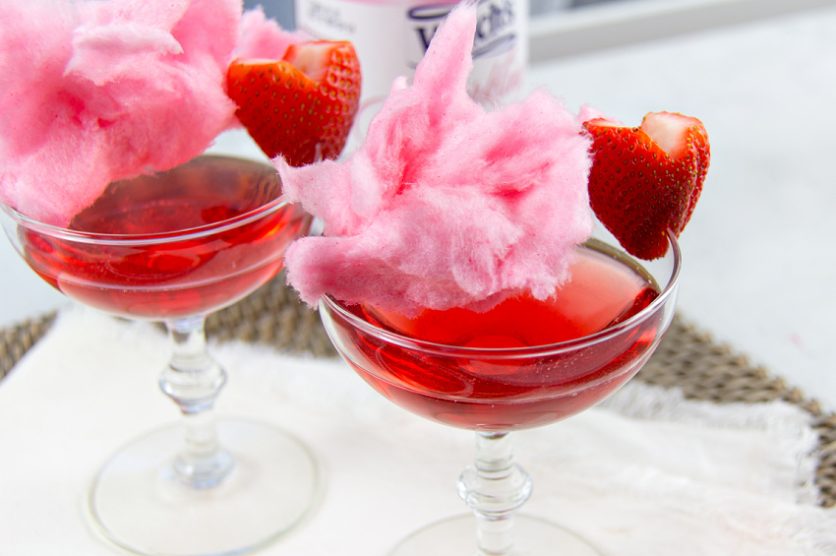
Make This Cotton Candy Mocktail for Valentine’s Day
Reader Favorites: Jewelry
How to Make DIY Leather Tassel Earrings
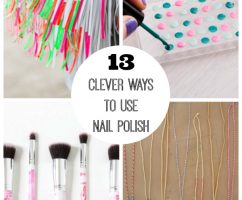
13 Clever Ways to Use Nail Polish
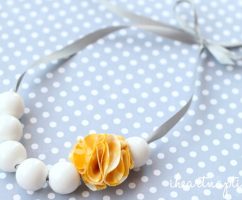
How to Make Chic and Sassy Gumball Necklaces